




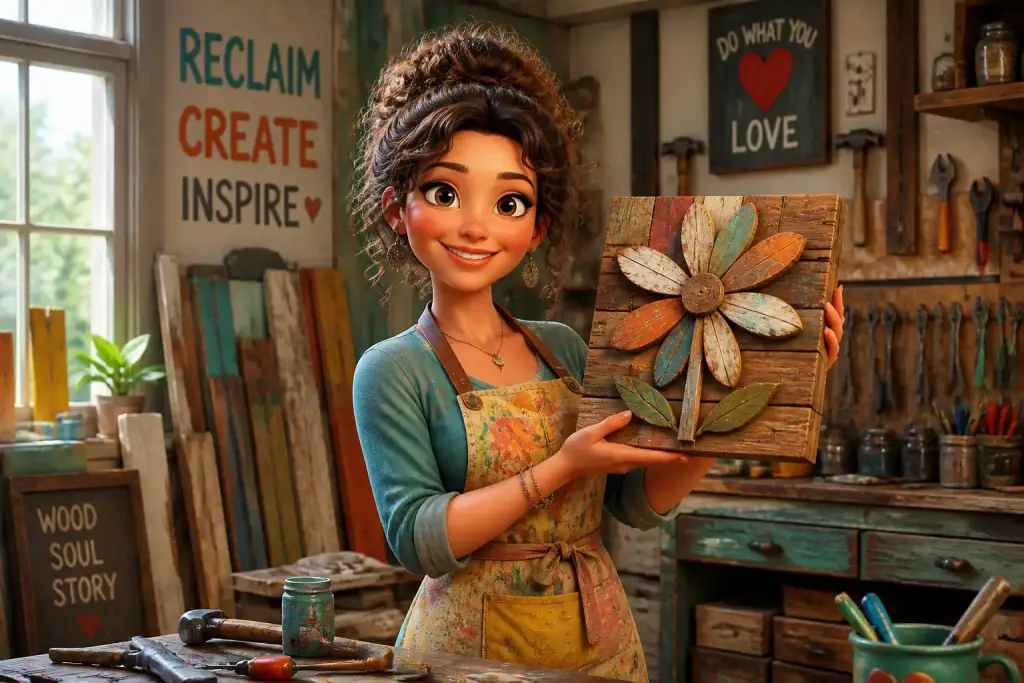
Creating DIY reclaimed art combines creativity with a love for sustainability. Using hand tools allows you to transform discarded materials into stunning pieces that tell a story. This article dives into the world of hand tools and how they can enhance your DIY projects. By understanding the right tools, techniques, and tips, you can craft unique art pieces while enjoying the process.
- Hand tools are essential for crafting unique pieces from reclaimed materials.
- Understanding different tools helps improve your art-making skills.
- Simple techniques can enhance the beauty of reclaimed art.
Table of Contents
Choosing the Right Hand Tools
Selecting the right hand tools is vital for any DIY reclaimed art project. Each tool serves a specific function, and understanding their uses can significantly impact your work. Basic tools often needed include saws, hammers, screwdrivers, and chisels. Each of these tools can help you shape, join, or finish your materials effectively.
For instance, a handsaw is perfect for cutting wood into desired shapes. Circular saws can work for larger projects but require more safety precautions. Hammers come in various forms, such as claw hammers for driving nails and rubber mallets for gentle tapping. Understanding these distinctions helps improve your efficiency and outcomes.
Essential Tools Overview
- Handsaw: Ideal for precise cuts in wood.
- Hammer: Necessary for driving nails or assembling pieces.
- Screwdriver: Useful for assembling items or attaching hardware.
- Chisel: Perfect for carving and detailed work on wood.
Investing in a quality set of hand tools can make your art-making experience smoother. Many artists prefer to start with a basic set that includes essential tools. Over time, you can add specialized tools as your skills progress. This approach keeps your workspace organized and ensures you have what you need.
Techniques for Working with Reclaimed Materials
Working with reclaimed materials requires special techniques to ensure safety and effectiveness. These materials can vary widely in shape, size, and condition, so adapting your approach is essential. Start by inspecting your materials for safety hazards like nails, sharp edges, or rot. Proper evaluation helps avoid injuries and ensures the integrity of your art piece.
Once your materials are safe, consider how you can join them. Using wood glue is a common technique for creating strong bonds. For more robust structures, screws or nails can provide added support. Understanding how to attach different materials effectively can enhance the durability and aesthetics of your artwork. For more details on this process, check out this guide on material attachment.
Joining Techniques
- Clean the edges of the materials for better adhesion.
- Apply a generous amount of wood glue and clamp the pieces together until dry.
- For a stronger connection, use screws or nails after the glue sets.
Using these techniques helps create stable structures while maintaining the aesthetic appeal of reclaimed materials. Remember, each project may require different methods, so be flexible in your approach and willing to experiment.
Finishing Touches for Your Art
The finishing touches can make or break your DIY reclaimed art project. Proper sanding and finishing can enhance the beauty and longevity of your piece. Start by sanding rough edges and surfaces to create a smooth finish. This step is crucial as it prevents splinters and ensures a professional look. Using sandpaper with varying grits can help achieve the desired smoothness.
Once sanding is complete, consider applying a finish. This could be a clear coat, stain, or paint, depending on your vision. Each option provides a different look and feel. A clear coat can preserve the natural beauty of the wood, while stains can add depth and color. For guidance on sanding and finishing, refer to this sanding and finishing guide.
Choosing the Right Finish
- Clear Coat: Protects the surface while allowing the wood grain to show.
- Wood Stain: Enhances color and depth of the wood.
- Paint: Provides a bold, creative look to your artwork.
Experimenting with different finishes can help you discover what works best for your style. Always test a small area before applying a finish to the entire piece. This practice ensures that you achieve the look you desire without surprises.
Incorporating Mixed Media
Mixing different materials opens up a world of creativity in reclaimed art. You can combine wood with metal, glass, fabric, or even found objects. Each material brings its own texture and character to your artwork. When incorporating mixed media, consider how each element interacts visually and structurally.
Using hand tools is essential for working with various materials. For example, metal pieces may require cutting with metal snips or a hacksaw. Glass can be shaped with a glass cutter, while fabric might need scissors or a rotary cutter. Knowing how to handle different materials ensures that your mixed media art is cohesive and well-crafted.
Steps to Create Mixed Media Art
- Gather your materials and tools based on your design.
- Cut and shape each element to fit your vision.
- Assemble the pieces, using appropriate joining techniques.
- Finish and seal your artwork to protect it.
Exploring mixed media can lead to innovative creations that stand out. Don’t be afraid to experiment and push the boundaries of your artistic expression. Each piece can tell a unique story through the materials you choose.
Invest in high-quality hand tools, as they improve your results and make your creative process more enjoyable.
Managing Your Time Effectively
Time management is key when working on DIY reclaimed art projects. Balancing creativity and productivity ensures you can finish projects without feeling rushed. Start by setting clear goals for what you want to achieve in each session. Breaking larger projects into smaller tasks can help you stay focused and motivated.
Creating a schedule can also be beneficial. Designate specific times for gathering materials, creating, and finishing your art. This structure allows you to allocate time for each step of the process. Additionally, consider using a timer to keep yourself on track. Setting short intervals can boost focus and prevent burnout.
Tips for Efficient Time Management
- Set clear project goals and timelines.
- Break down larger tasks into smaller, manageable steps.
- Use a timer to stay focused and maintain productivity.
These strategies can transform your creative process, allowing you to enjoy making art without the stress of time constraints. Staying organized and focused helps you achieve better results while enjoying the journey of creativity.