


Creating a reclaimed art project can be an exciting journey that not only sparks creativity but also promotes sustainability. By using materials that might otherwise end up in landfills, you can transform them into unique pieces of art. This guide will provide a step-by-step workflow to help you through your first project, ensuring a fulfilling and enjoyable experience. You’ll learn how to plan, gather materials, execute your ideas, and finish your artwork with confidence.
- Start with a clear vision for your reclaimed art project.
- Gather materials and tools that inspire creativity.
- Plan your workflow to streamline the process.
Table of Contents
Define Your Artistic Vision
The first step in any creative endeavor is to define your artistic vision. What do you want to express through your reclaimed art? This can be a specific theme, emotion, or message that resonates with you. Jot down your thoughts and consider what inspires you. For instance, you might want to create a piece that reflects nature, using reclaimed wood and metal parts to symbolize growth and renewal.
Consider creating a mood board that includes colors, textures, and images that inspire you. This visual tool can help solidify your ideas and guide your material choices. When defining your vision, think about the scale of your project. Are you aiming for a small tabletop decoration, or a larger outdoor sculpture? The scale can influence your material selection and the tools you’ll need as you move forward.
Example Themes for Reclaimed Art
- Nature-inspired pieces that celebrate the outdoors.
- Abstract sculptures that play with form and color.
- Functional art, like furniture or lighting, that serves a purpose.
- Personal stories told through visual art, using meaningful materials.
Once you have a clear vision, write it down. This written plan will serve as your guide throughout the project. Keeping your vision in mind helps maintain focus and ensures that your final piece truly reflects your creative intent.
Gathering Materials and Tools
With your artistic vision in mind, the next step is gathering materials for your reclaimed art project. Look around your home, garage, or local thrift stores for items that can be transformed. Common materials include old furniture, pallets, scrap metal, glass bottles, and fabric remnants. Each piece can tell a story and contribute to the overall design.
Consider visiting local recycling centers or community swap events where you might find unique items. Engaging with your community can uncover hidden gems and support sustainable practices. Keep an open mind when selecting materials. Sometimes the most unexpected items can lead to the most creative outcomes.
Essential Tools for Your Project
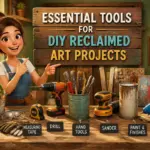
Before you start crafting, ensure you have the right tools on hand. Here’s a basic list of tools you might need:
- Hand tools like saws, hammers, and screwdrivers for cutting and assembling materials.
- Power tools, such as drills and sanders, for more complex projects.
- Adhesives and paints to finish your artwork.
- Safety gear, including gloves and goggles, to protect yourself while working.
Before diving into your project, familiarize yourself with each tool and its proper usage. If you’re unsure, resources like affordable tools for creating reclaimed art can provide valuable insights. Being well-prepared reduces the chances of accidents and enhances your overall experience.
Planning Your Workflow
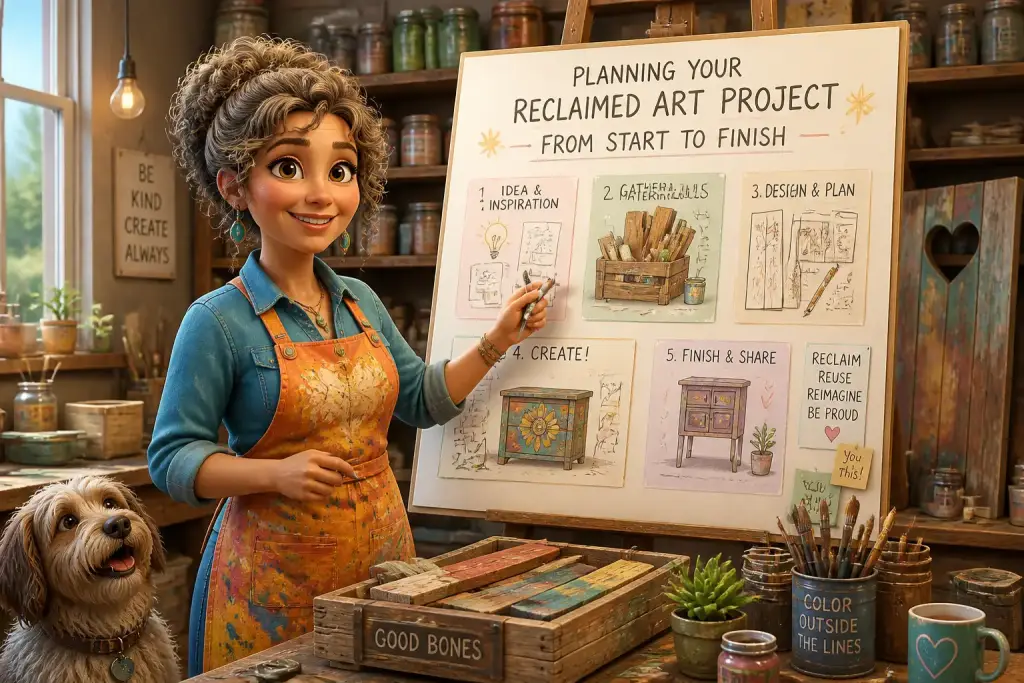
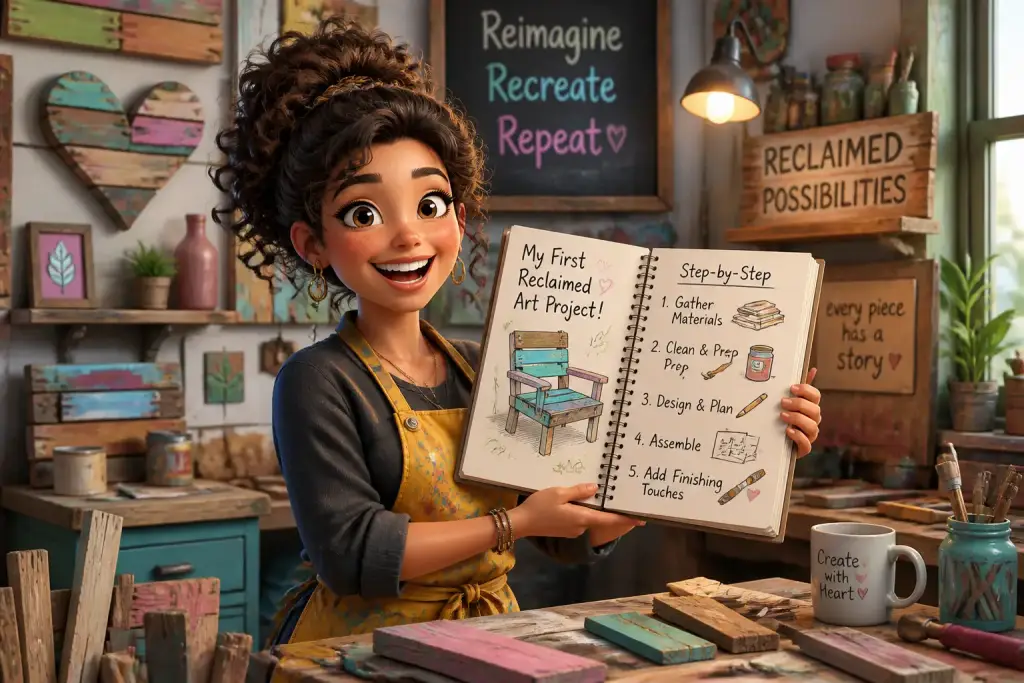
Creating reclaimed art involves several steps that can seem overwhelming at first. Planning your workflow can simplify the process and ensure you stay on track. Start by breaking down your project into manageable stages. This might include gathering materials, designing your piece, assembling components, and finishing touches.
Consider creating a checklist to monitor your progress. A checklist can help you remember each step and keep the project organized. For a detailed approach to creating a checklist, refer to this resource on creating a checklist for your reclaimed art workflow.
Sample Workflow Steps
- Gather all materials and tools before starting.
- Create sketches or mock-ups of your design.
- Assemble your art piece, focusing on one section at a time.
- Apply finishes, such as paint or varnish, as needed.
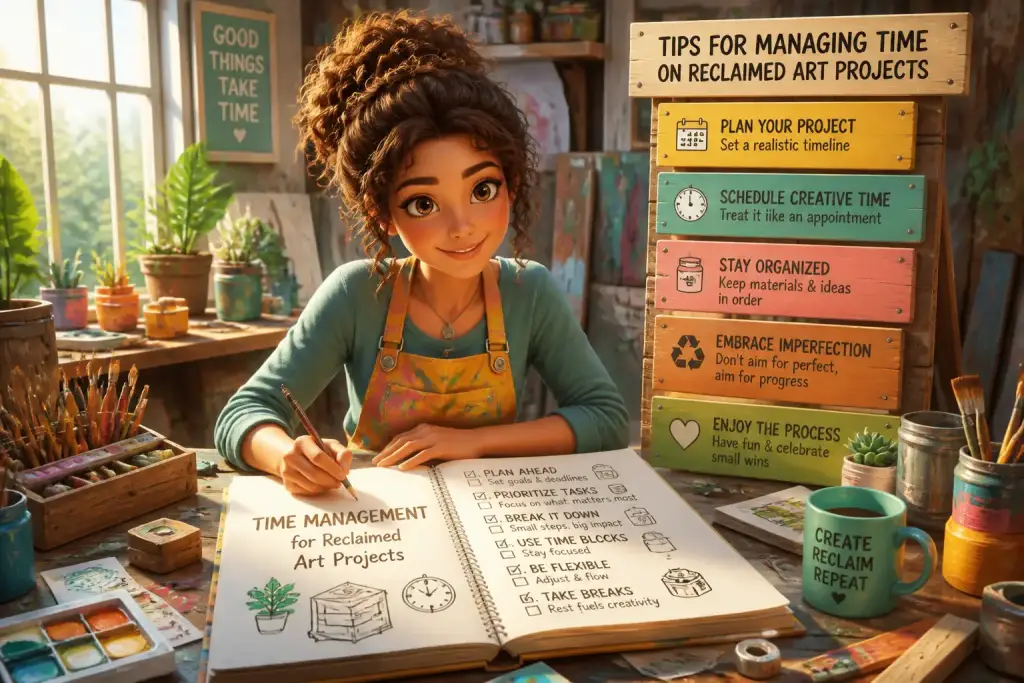
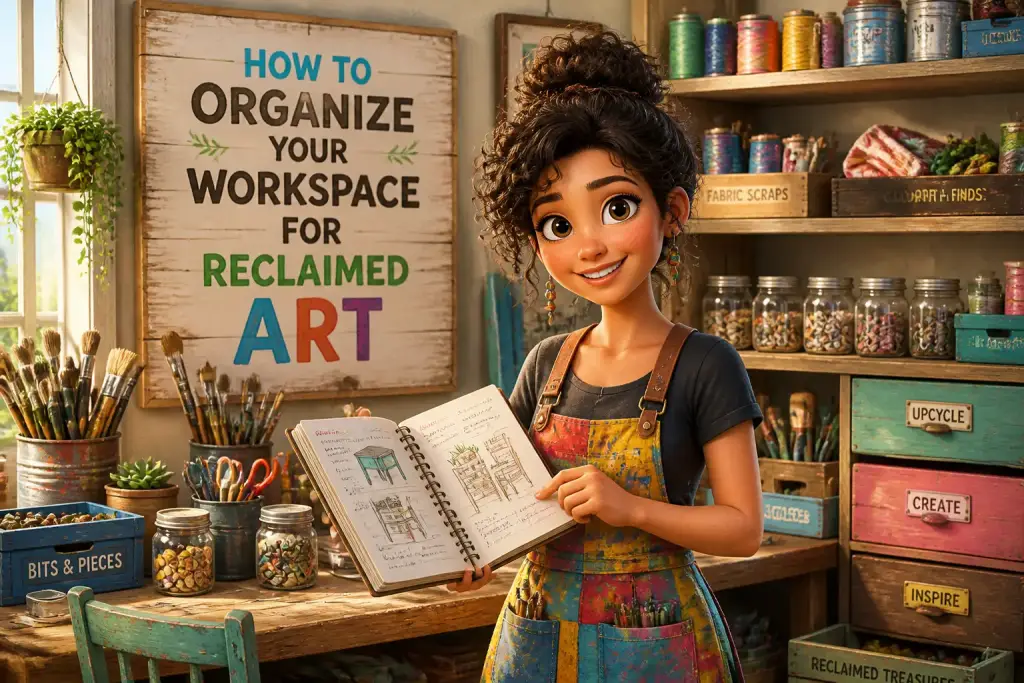
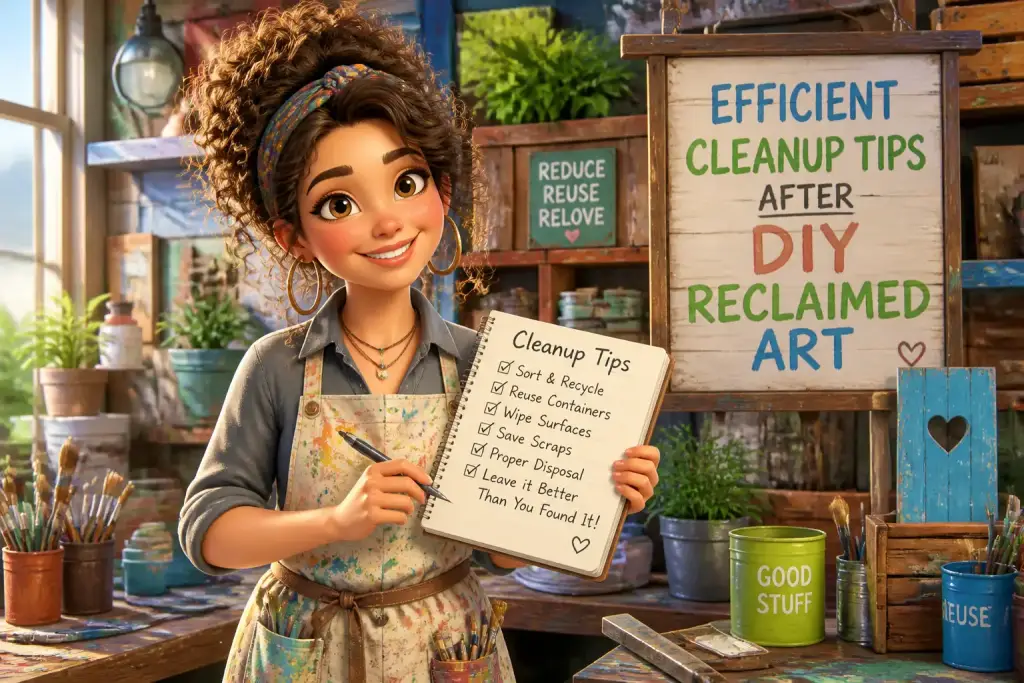
Keep your workspace organized as you work. Having a clean area can increase your efficiency and provide a more enjoyable crafting experience. Set aside specific times each week to work on your project, making it part of your routine.
Organize your workspace before starting to enhance focus and creativity throughout the project.
Executing Your Artistic Vision
Now comes the exciting part: bringing your artistic vision to life. Start by assembling your materials according to your design. Take your time and don’t rush. Enjoy the creative process. If you face challenges, remember that art is about exploration and expression.
As you work, continually refer back to your vision and sketches. This will help guide your decisions and keep your project aligned with your original intent. If something doesn’t feel right, don’t hesitate to make changes. Sometimes, the best ideas come from unexpected adjustments.
Tips for Overcoming Common Challenges
- If materials do not fit together as planned, consider using different combinations or layers to create depth.
- For uneven surfaces, sanding can help achieve a smoother finish.
- Don’t worry about perfection. Embrace the unique qualities of reclaimed materials.
As you progress, document your journey. Take photos of your project at different stages. This not only helps you track your work but can also inspire others who may wish to take on similar projects. Once your piece begins to take shape, the excitement grows as you see your vision manifest in three dimensions.
Finishing Touches and Displaying Your Art
After completing the assembly of your reclaimed art, the finishing touches can enhance its overall appeal. Depending on your project’s type, you may want to paint, stain, or seal your artwork. Finishes can protect materials and add a polished look to your piece.
For outdoor pieces, consider using weather-resistant finishes to ensure longevity. Indoor pieces might benefit from a coat of varnish to bring out colors and textures. Take time to think about how your artwork will be displayed. Will it hang on a wall, sit on a shelf, or be placed in a garden? The display method can change how your art is perceived.
Ideas for Displaying Your Reclaimed Art
- Use creative lighting to highlight your artwork.
- Incorporate it into your home decor to spark conversation.
- Share your finished piece online to connect with others who appreciate reclaimed art.
Finally, celebrate your accomplishment. Completing a reclaimed art project is a significant achievement that reflects your creativity and commitment to sustainability. Share your journey and finished piece with friends and family, or even host a small exhibition to showcase your work. Engaging with your community can further inspire others to explore their artistic talents.