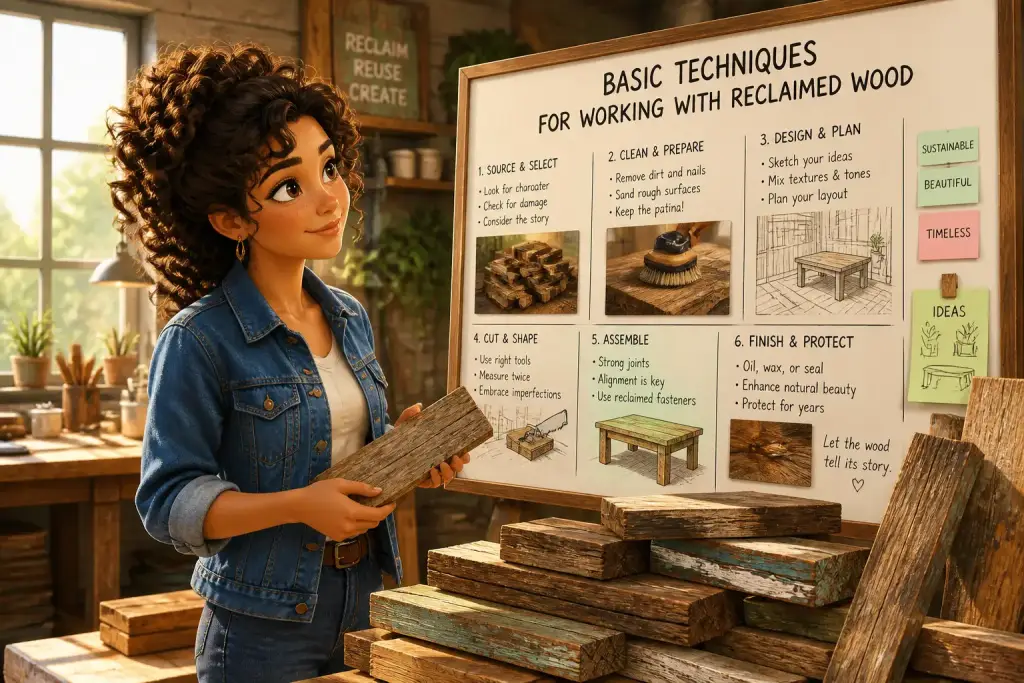










Using stencils for art is a fantastic way to create unique pieces while embracing the beauty of reclaimed materials. Artists and DIY enthusiasts alike are discovering how versatile stencils can be in transforming ordinary items into extraordinary works of art. This guide explores various techniques, materials, and creative ideas to help you get started on your reclaimed art journey.
- Stencils can transform reclaimed materials into unique art pieces.
- Different techniques can enhance the visual impact of your designs.
- Choosing the right materials and tools is essential for success.
Table of Contents
Choosing the Right Materials for Stenciling
The foundation of any art project begins with selecting the right materials. For stenciling, choosing quality supplies ensures the best possible outcome. Start with stencils made from durable materials such as Mylar or heavy cardstock. These materials provide longevity and can withstand multiple uses, which is particularly important for larger projects.
When it comes to paint, consider using acrylics or spray paints specifically designed for stencils. Acrylic paint is versatile and comes in various finishes, allowing for creative expression. Spray paints offer smooth coverage and are excellent for detailed work. Always opt for paints that are compatible with the surface you plan to stencil on, whether it’s wood, metal, or fabric.
Select a suitable surface for your art. Reclaimed wood, old furniture, or even metal scraps can serve as excellent canvases. Each surface has its own character, adding depth to your final piece. Ensure that the materials are clean and prepped before starting your project. Sanding rough edges or applying a base coat can enhance the final look.
Preparing Your Workspace for Stenciling
A well-organized workspace can make a significant difference in your stenciling project. Begin by clearing a large area where you can work comfortably. Make sure to have good lighting, as this will allow you to see details clearly and avoid mistakes. Gather all your materials, including stencils, paints, brushes, and any other tools you’ll need. Having everything within reach helps maintain your focus.
Protect your work surface with a drop cloth or newspaper to catch any paint spills. If you’re using spray paint, work in a well-ventilated area to avoid inhaling fumes. Setting up a fan can also help circulate air, keeping your workspace fresh. If possible, use a large cardboard box or a spray booth to contain overspray when working with spray paints.
Lastly, wear appropriate clothing to protect yourself from paint splatters. An old shirt or an apron can save your clothes from potential stains. Having gloves on hand is also a good idea, especially if you’re using spray paint or working with solvents. This preparation ensures a smooth creative process without unnecessary interruptions.
Techniques for Using Stencils Effectively
Once you have prepared your materials and workspace, it is time to explore various techniques to apply your stencils effectively. One popular method involves using a sponge or stencil brush to apply paint. This technique allows for controlled application and minimizes the risk of paint bleeding under the stencil edges.
Another effective technique is to use spray paint for a quick and even application. Hold the spray can about 6-12 inches away from the stencil to avoid overspray and ensure a clean design. Start with light coats, building up color gradually. This method works particularly well for larger projects and intricate designs.
Regardless of the method chosen, securing the stencil in place is crucial. You can use painter’s tape to hold the stencil down, preventing it from shifting during application. Alternatively, using adhesive spray can help keep the stencil in place while you work. Make sure to test your chosen method on a scrap piece to see how it interacts with your materials.
Common Stenciling Challenges and Solutions
- Paint Bleeding: To prevent paint from bleeding under the stencil, apply light coats and avoid overloading your brush or sponge with paint.
- Stencil Shifting: Use painter’s tape or adhesive products to secure the stencil firmly to your surface before painting.
- Fading Colors: To achieve vibrant colors, use high-quality paints and consider applying a clear coat after your stencil work to protect the finish.
Design Ideas for Reclaimed Art Using Stencils
Stencils open up a world of design possibilities for your reclaimed art projects. One exciting idea is to create wall art using reclaimed wood. You can cut wooden planks into various sizes and paint them with stenciled patterns, such as geometric shapes, florals, or inspirational quotes. This approach adds a personal touch to your space and showcases the beauty of reclaimed materials.
Furniture makeovers are another fantastic way to incorporate stenciling. You can breathe new life into old furniture pieces by applying stencils to tabletops, drawers, or chair backs. For example, a simple floral stencil can transform a plain side table into a stunning focal point. Consider using contrasting colors for a bold effect or muted tones for a more subtle look.
Outdoor decor can also benefit from stenciling. Create unique garden signs or decorative planters using weather-resistant paints. Stenciled designs can enhance the beauty of your garden while providing clear labels for your plants. This not only adds charm but also makes it easier for visitors to identify different plants in your garden.
Always test your stencil on scrap material before starting your main project to ensure the design and paint adhere properly.
Combining Stencils with Other Techniques
Stencils can be combined with other artistic techniques to elevate your reclaimed art projects. One popular method is layering stencils. Layering involves applying multiple stencils in different colors to create depth and complexity in your design. This technique can be particularly striking when using contrasting colors or patterns that complement each other.
Another method is to integrate mixed media into your stenciling projects. For instance, you can add texture using fabric, paper, or other materials alongside your stenciled designs. This approach creates a unique visual interest and brings new life to your artwork. Experiment with different combinations to see what works best for your style.
Consider combining stenciling with painting techniques such as dry brushing or sponging. Dry brushing involves using a dry brush to apply a small amount of paint over a surface, allowing the texture to show through. This technique can enhance stenciled designs by adding dimension and character.
Promoting Your Reclaimed Art Designs
Once you’ve completed your stenciled art projects, consider sharing them with the world. Social media platforms are excellent avenues for showcasing your creativity. Create an Instagram account dedicated to your art, sharing photos of your finished pieces and behind-the-scenes shots of your process. Engaging with a community of like-minded artists can provide support and inspiration.
Consider participating in local art fairs or markets to promote your work. Setting up a booth allows you to connect with potential customers while gaining valuable feedback on your designs. Networking with other artists can also lead to collaborative opportunities and help grow your reach.
Create an online portfolio or a website to showcase your work. This space can serve as a gallery for your stenciled pieces and a platform for selling your art. Providing clear descriptions and high-quality images will help attract potential buyers. Don’t forget to include contact information, making it easy for interested individuals to reach you.
Maintaining Your Stencils and Tools
Proper maintenance of your stencils and tools is essential for achieving consistent results in your projects. After each use, clean your stencils immediately to prevent paint buildup. Use warm soapy water and a soft brush to scrub away any residue. Rinse thoroughly and allow them to dry flat to maintain their shape.
For brushes and sponges, rinse them under running water to remove excess paint. Follow this by washing them with soap and water. Storing your brushes upright or laying them flat can help preserve their bristles. Regular maintenance extends the life of your tools, ensuring they perform well for future projects.
Consider organizing your stencils and tools in a way that makes them easy to find and use. Clear containers or labeled bins can help keep everything in order. This organization will save you time and effort when starting new projects, allowing you to focus on your creativity.
Using stencils for unique reclaimed art designs is a wonderful way to express your creativity while being environmentally conscious. By choosing the right materials, techniques, and maintaining your tools, you can create stunning pieces that stand out. Start experimenting with stencils today and watch your reclaimed art come to life.