
Creating art can be a fulfilling experience, especially when combining different materials. Artists often seek unique ways to express their ideas, and knowing how to attach various elements can elevate your DIY projects. Whether you want to create a mixed-media piece, a sculpture, or a functional art object, understanding the best methods to attach materials is crucial. This guide will explore techniques and strategies to help you successfully combine different materials in your art.
- Understanding the best adhesives for diverse materials enhances project quality.
- Selecting the right tools ensures successful attachment and finish.
- Experimenting with layering techniques adds depth to your creations.
Table of Contents
Choosing the Right Adhesive for Your Materials
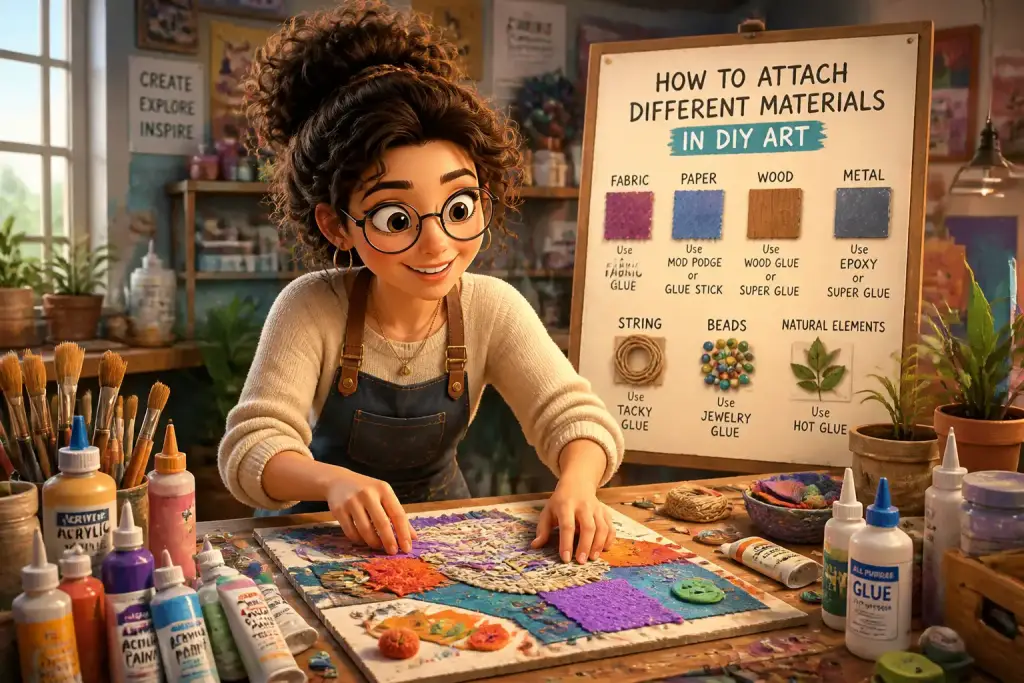
The first step in any art project is selecting the right adhesive. Different materials require different types of glue or adhesive methods. For instance, wood can be bonded with PVA glue, while fabric needs a different approach. Understanding the properties of each material will guide you in making the best choice.
For paper and cardstock, a simple white glue or glue stick works well. However, if you need a stronger bond, consider using a craft glue that dries clear. For fabrics, fabric glue or a hot glue gun provides quick adhesion. Additionally, epoxy glue can bond materials such as metal to wood, ensuring a strong hold.
It’s essential to test the adhesive on a small piece of the material first. This will help you see how the glue interacts with your chosen surface. For example, some adhesives might warp thin paper or discolor fabric. Always take this precaution to avoid ruining your project.
Common Types of Adhesives
- PVA Glue: Great for paper and lightweight materials.
- Hot Glue: Ideal for quick fixes and works on various surfaces.
- Epoxy: Best for heavy-duty attachments like metal and wood.
- Fabric Glue: Specifically made for textile applications.
Tools for Effective Material Attachment
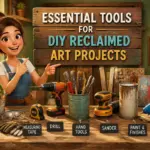
To adhesive, having the right tools can make the process of attaching materials much easier. Basic tools include scissors, craft knives, and paintbrushes for applying glue. However, some projects may require additional tools to achieve the desired effect.
A cutting mat can protect your workspace while using sharp tools. A ruler or straightedge is necessary for precise cuts, especially when working with paper or fabric. Tweezers can help position small items accurately, ensuring a clean finish. Finally, clamps or clothespins are useful for holding pieces together while the adhesive dries.
Organizing your workspace can improve your efficiency. Ensure that all your tools are easily accessible and that your materials are sorted. This setup allows you to focus more on creativity rather than searching for supplies.
Essential Tools to Consider
- Scissors: For cutting various materials.
- Glue Applicator: Helps in applying the right amount of adhesive.
- Tweezers: Useful for small elements.
- Cutting Mat: Protects surfaces and allows for safe cutting.
Layering Techniques for Mixed Media Projects
Layering is a popular technique in mixed media art, where different materials are combined to create depth and texture. The key to effective layering is to consider the order of materials and how they interact. Start with a base layer, which can be a canvas or a piece of wood. This layer will support everything else.
Next, add different elements, such as paper, fabric, or found objects. When attaching these items, consider their weight. Heavier materials, like metal or wood, should be placed at the bottom, while lighter items, like paper or fabric, can be added on top. This arrangement prevents the project from becoming top-heavy and ensures stability.
Another important aspect of layering is the use of texture. For example, crumpling paper before attaching it gives a three-dimensional effect. You can also use stencils and stamps to add patterns to your layers. Experimenting with various textures adds visual interest and keeps your audience engaged.
Steps to Layer Effectively
- Start with a solid base material.
- Arrange your materials without attaching them first to find the best composition.
- Attach layers starting from the bottom up, using the appropriate adhesive for each material.
- Add finishing touches like paint or embellishments to enhance the final piece.
Creating Functional Art with Different Materials
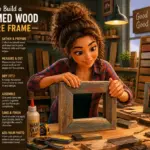
Functional art combines aesthetics with usability, and knowing how to attach materials is vital for these projects. For example, creating a decorative yet functional shelf requires a sturdy base. You can utilize reclaimed wood for the shelf, which can be attached to metal brackets for support.
When working on functional pieces, consider the weight and strength of your materials. Always use strong adhesives or mechanical fasteners, like screws or nails, for heavy items. This ensures safety and longevity in your projects. If you plan to create outdoor art, make sure to choose weather-resistant materials and adhesives to withstand the elements.
Another aspect of functional art is ensuring that it serves its purpose without compromising style. For instance, an artistic coat rack can be made from driftwood, with hooks attached using screws. This not only looks appealing but also holds coats securely. Remember, blending functionality with creativity can result in unique and practical art pieces.
Examples of Functional Art Projects
- Decorative Shelves: Use reclaimed wood and metal brackets.
- Coat Racks: Combine driftwood and hooks for a rustic look.
- Planters: Attach ceramic pots to wooden bases for a stylish garden feature.
Always test your adhesive on scrap materials to ensure compatibility and avoid damaging your main project.
Tips for Safety and Clean-Up
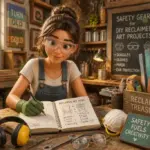
Safety should always be a priority when working with different materials and adhesives. Some glues can emit fumes, so working in a well-ventilated area is essential. Always read the labels on adhesives for any specific safety instructions. Wearing gloves can protect your hands from sticky substances, and safety goggles can shield your eyes from splatters.
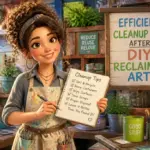
After finishing your project, clean your workspace thoroughly. Remove any excess glue or materials to prevent messes in future projects. Dispose of any scraps responsibly, especially if they include sharp objects. Organizing your workspace after each session can help maintain a productive environment for your next creative endeavor.
Remember to take breaks during your projects to avoid fatigue. Working continuously can lead to mistakes that may require extra time to fix. Enjoying the process is just as important as the final product. Celebrate your creativity and the joy of making art with diverse materials.
Safety Precautions to Follow
- Always work in a well-ventilated area.
- Wear gloves and goggles if necessary.
- Keep sharp tools out of reach when not in use.
Mastering the art of attaching different materials in DIY projects opens up a world of creative possibilities. With the right tools, adhesives, and techniques, anyone can create beautiful and unique works of art. As you explore these methods, remember to enjoy the process and let your creativity shine.