

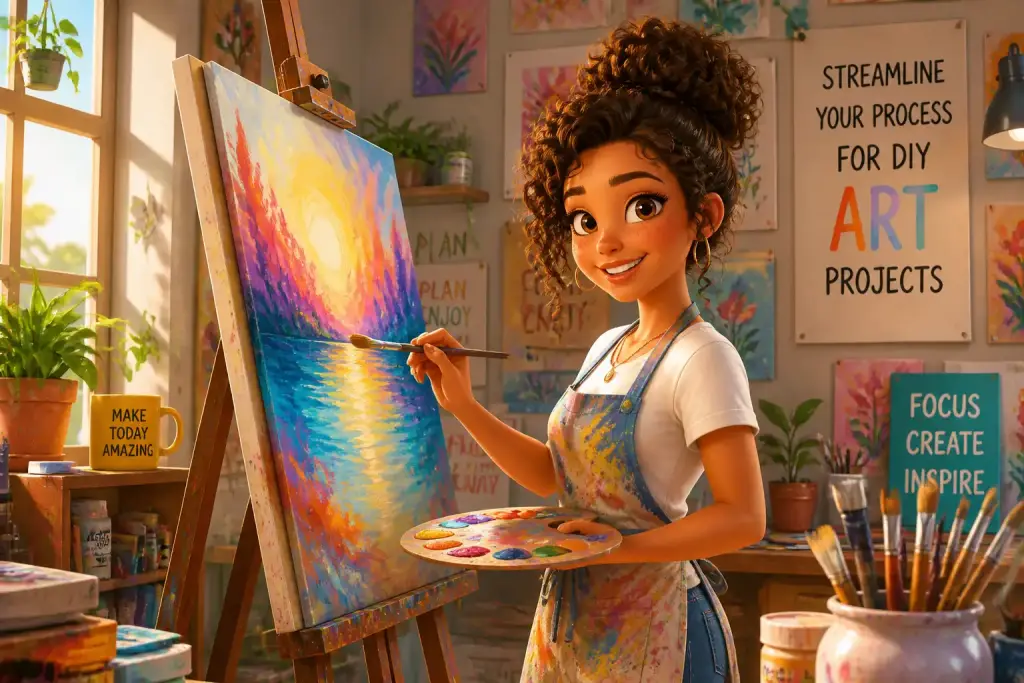
Creating art at home can be a rewarding experience, but it often comes with challenges that can hinder your creativity. Streamlining your process for DIY art projects allows you to focus more on expressing your ideas and less on managing chaos. With the right strategies, you can transform your artistic endeavors into a smoother, more enjoyable journey. This article provides practical insights designed to help you optimize your approach to DIY art projects.
- Use organized project plans to keep track of materials and ideas.
- Set realistic timelines to maintain momentum and reduce frustration.
- Experiment with different techniques to discover your unique style.
Table of Contents
Establishing an Organized Workspace
An organized workspace is essential for anyone engaging in DIY art projects. A cluttered environment can distract you and lead to frustration. Start by choosing a designated area in your home specifically for art projects. This space should be well-lit and comfortable to work in. Ensure that all your materials are easily accessible and neatly arranged. You may want to invest in storage solutions like shelves, bins, or drawers to keep everything organized.
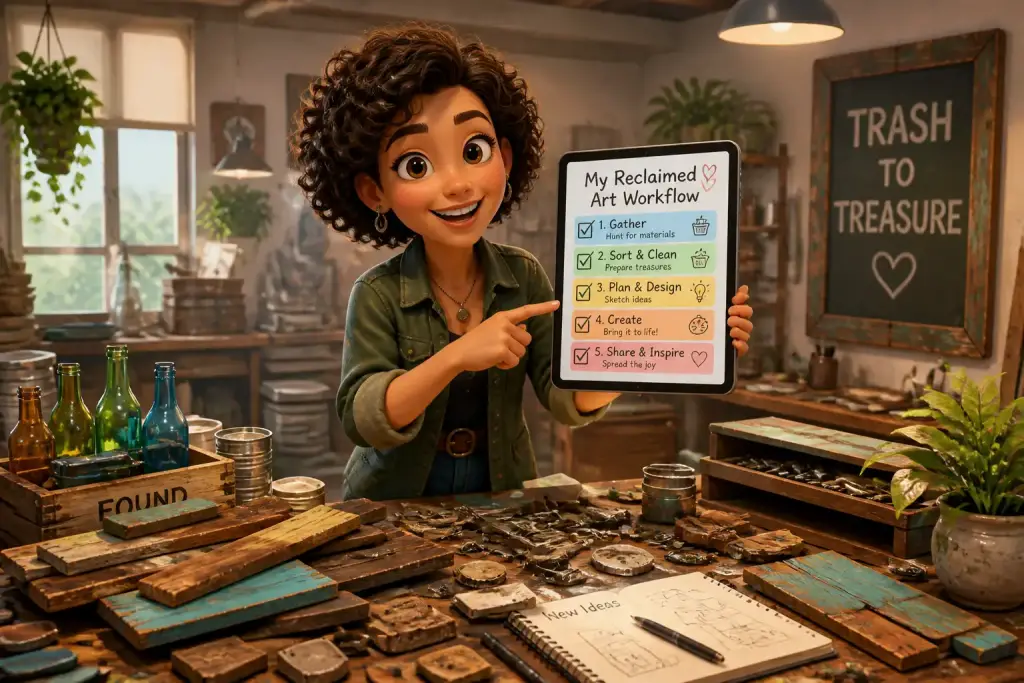
Consider categorizing your supplies. For example, keep paints together, tools in another area, and papers or canvases in a separate place. This way, you can quickly find what you need without searching through piles of materials. If you often work with reclaimed materials, having specific sections for different types can also help. For more inspiration on using reclaimed items, check out 5 Easy Reclaimed Wood Projects for Beginners.
Creating a Functional Layout
Your workspace layout should promote efficiency. Position your most used items within arm’s reach. For instance, place your paints, brushes, and palettes on a nearby table while keeping larger tools like saws or drills stored in a separate area. This setup allows you to move fluidly between tasks without interruptions.
- Keep a trash bin nearby for easy cleanup.
- Use a pegboard to hang tools for easy visibility and access.
- Incorporate a corkboard for inspiration and notes related to your projects.
Planning Your Art Projects
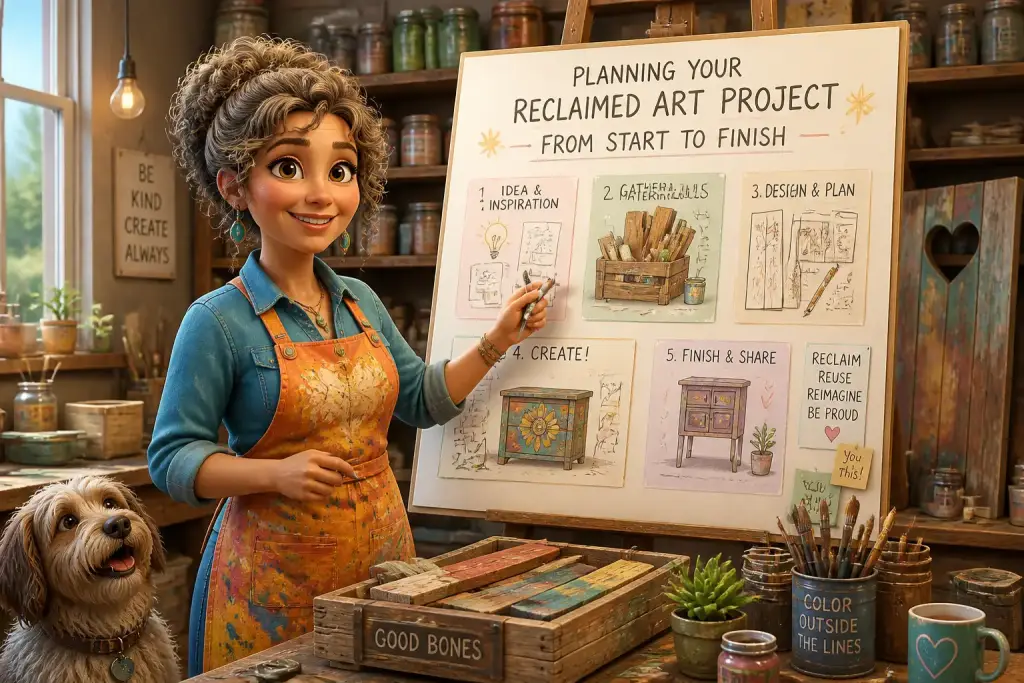
Successful DIY art projects often begin with careful planning. Before diving into your next creation, take some time to outline your ideas and goals. Write down what you want to achieve with your project. This step helps you visualize your end goal and sets a clear direction. It can be as simple as jotting down a few notes or creating a detailed project plan.
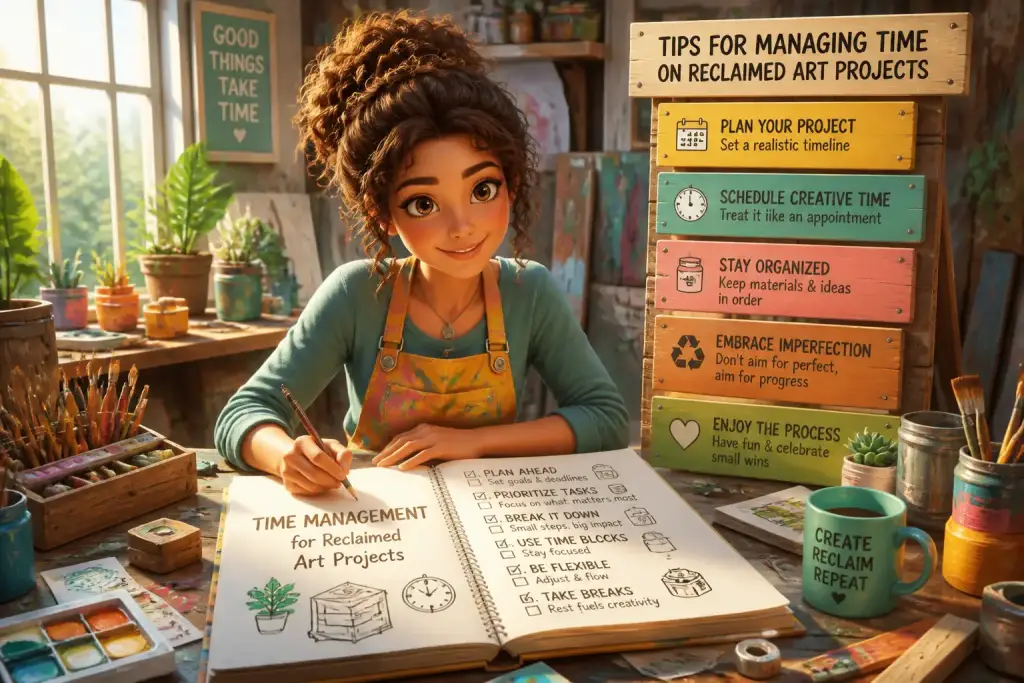
Timelines play a significant role in planning. Set reasonable deadlines for each phase of your project. This practice keeps you motivated and helps you maintain momentum. Start by breaking your project into smaller tasks and assign a time frame for each. For example, if you are working on a painting, allocate time for sketching, painting base layers, and adding details. Remember to allow for breaks to avoid burnout.
Utilizing Digital Tools
Modern tools can significantly enhance your planning process. Use apps or software designed for project management to keep track of your tasks, materials, and deadlines. Tools like Trello or Asana can help you create boards for each project, making it easier to visualize your progress.
- List all materials needed for your project.
- Create a timeline with tasks organized by priority.
- Update your progress regularly to stay on track.
Incorporating Various Techniques
Experimenting with different techniques can add depth to your DIY art projects. To keep your creativity flowing, consider mixing various styles and materials. This approach not only enhances your skills but also helps you discover your unique artistic voice.
For instance, you might combine painting with collage or incorporate textures using different materials. If you are unsure where to start, look into mixing textures in your artworks. This method can elevate your projects and make them visually engaging.
Step-by-Step Technique Exploration
When trying a new technique, break it down into manageable parts. For example, if you want to create texture with paint, follow these steps:
- Choose your base color and apply it evenly across your canvas.
- Experiment with different tools, such as sponges or brushes, to add texture.
- Layer additional colors to create depth and interest.
- Let each layer dry before adding the next to maintain clarity.
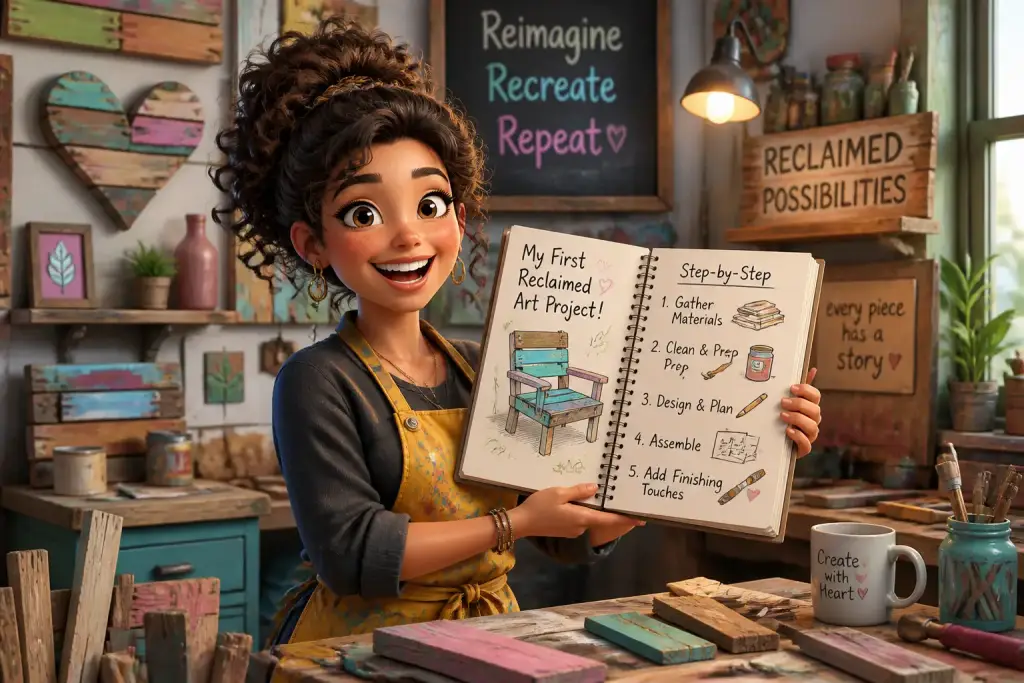
As you explore new methods, keep a sketchbook handy. Document your experiments, noting what works and what doesn’t. This practice not only tracks your progress but also serves as a reference for future projects.
Create a dedicated workspace to minimize distractions and keep all your materials within reach for a more focused creative session.
Gathering Inspiration
Finding inspiration is vital for any artist. Surround yourself with sources of creativity that resonate with you. Whether it is art books, magazines, or online platforms, a wealth of inspiration is available today. Consider following art blogs, social media accounts, or even visiting local galleries to spark your imagination.
Join local art communities or online forums to share ideas and receive feedback. Interacting with fellow artists can provide fresh perspectives and motivate you to try new things. You can also attend workshops or classes to learn new skills and meet like-minded individuals.
Curating Your Inspiration Sources
To keep your inspiration organized, create a mood board. Collect images, color swatches, and quotes that inspire you and display them in your workspace. This visual representation can serve as a constant reminder of your artistic goals. Also, consider categorizing your sources by themes or styles for easy access when you need a creative boost.
- Use Pinterest to save and organize ideas.
- Maintain a digital folder of your favorite artworks.
- Regularly update your mood board to reflect your evolving style.
Evaluating Your Progress
Reflecting on your work is essential to growth as an artist. Take time to evaluate your completed projects periodically. Analyze what worked well, what could be improved, and how your style has evolved. This practice not only reinforces your learning but also helps you set goals for future projects.
Consider keeping a journal dedicated to your artistic journey. Write about your experiences, challenges, and successes. This documentation can provide valuable insights into your growth and help you recognize patterns in your creative process.
Setting Future Goals
Use your evaluations to set concrete goals for your upcoming projects. Identify specific skills you want to develop or techniques you wish to explore. By setting measurable and achievable objectives, you can stay focused and motivated.
- Choose one new technique to learn each month.
- Set a goal to complete a certain number of projects within a specific timeframe.
- Plan to share your work with others to receive constructive feedback.
By streamlining your process for DIY art projects, you can transform your creative practice into a more enjoyable and productive experience. An organized workspace, careful planning, a willingness to explore new techniques, and a commitment to evaluating your progress are key components of this journey. With these strategies in place, you will find yourself more inspired and ready to create.