








Creating beautiful furniture or decor pieces from reclaimed wood is a rewarding and sustainable practice. However, many people want to add character to these pieces, making them unique and visually appealing. Distressing reclaimed wood is an excellent way to achieve that aged look, and it can be done using various techniques. These methods can transform the wood, giving it the appearance of being weathered and timeworn. This guide provides a comprehensive look at easy techniques for distressing reclaimed wood, ensuring your projects stand out in any setting.
- Use sandpaper and tools for controlled distressing.
- Apply stains and paints for a weathered look.
- Experiment with different techniques for unique results.
Table of Contents
Choosing the Right Reclaimed Wood
Not all reclaimed wood is created equal. Some woods are more suitable for distressing than others. When selecting wood, look for pieces with natural imperfections like knots, cracks, and varying grain patterns. These features will enhance the final distressed look. Oak, pine, and cedar are popular choices due to their durability and aesthetic appeal. You can often find reclaimed wood at local suppliers, construction sites, or even through online marketplaces.
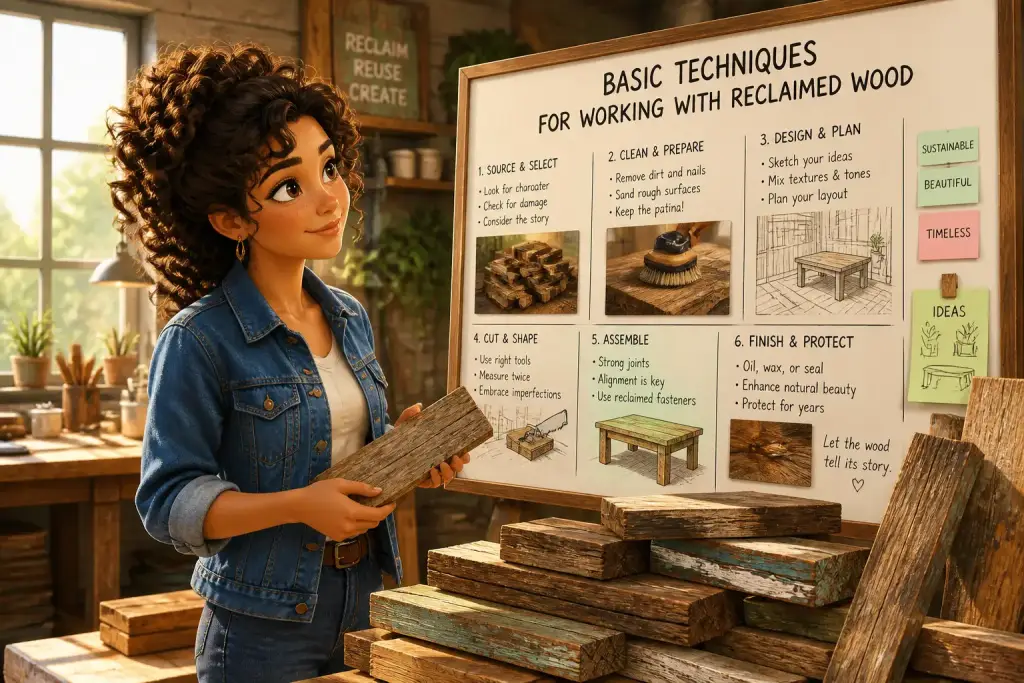
Check the wood’s condition as well. Look for signs of rot or extensive damage that could weaken the structure. A good piece should feel solid and be free of mold or pest infestations. After you have selected the right wood, it is time to prepare it for distressing. This step often involves cleaning the surface to remove dirt, grime, or old finishes.
Cleaning can be done with a mixture of soap and water, followed by a thorough rinse. Allow the wood to dry completely before starting any distressing techniques. Proper preparation ensures that the distressing methods will adhere well and provide the desired effect.
Basic Distressing Techniques
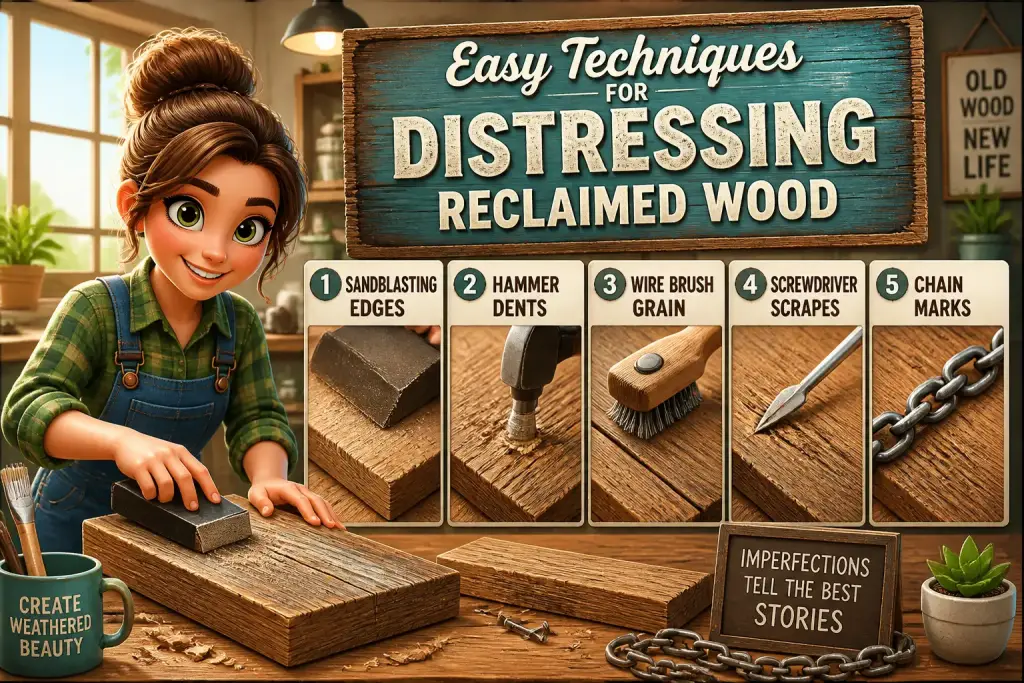
Distressing techniques can vary widely, but some basic methods are easy to implement. Each technique can produce different effects, allowing you to create unique pieces. Here are a few popular methods:
- Sanding: This is one of the most common techniques. Use coarse sandpaper to abrade the edges and surfaces of the wood. This method creates a worn look, highlighting the natural grain.
- Chiseling: A chisel can be used to create indentations and marks, mimicking the effects of age. Lightly tapping with a hammer can create authentic-looking gouges.
- Brushing: Use a stiff brush to scrub the surface. This technique can remove soft wood fibers, creating a textured appearance.
- Knocking: Lightly hitting the wood with a hammer or another heavy object can introduce dents and dings. This method adds character and gives the appearance of wear.
Each of these techniques can be combined to enhance the overall effect. For instance, you could start with sanding, follow up with chiseling, and finish with brushing to create a truly unique piece. Experimenting with different combinations will help you find the perfect look for your project.
Applying Paint and Stains
Once the wood has been distressed, applying paint or stain can further enhance its character. Paint can give the wood a completely new look, while stains can enrich the natural color. Here are some steps to follow:
Choosing the Right Products
Select high-quality paint or stain that suits your design vision. For a rustic look, consider using mineral stains or water-based paints that allow the wood grain to show through. Test a small area first to see how the color looks on the distressed wood.
Application Techniques
Apply paint or stain with a brush or cloth, depending on the effect you want. For a more subtle finish, use a cloth to wipe on the stain, ensuring it penetrates the distressed areas. For a bolder look, apply paint directly without wiping. Allow the first coat to dry before adding additional layers for depth.
After painting or staining, consider sealing the wood with a clear coat to protect your work. A matte or satin finish can enhance the rustic look while providing durability. This step is especially important for furniture that will see regular use.
Advanced Distressing Techniques
For those looking to take their distressing skills to the next level, advanced techniques can create stunning results. These methods require a bit more practice but can yield beautiful outcomes:
Using a Blowtorch
Applying a blowtorch can create a dramatic, charred effect on the wood. Start by lightly passing the torch over the surface, being careful not to burn through the wood. This technique adds depth and an intriguing texture. After charring, sand lightly to reveal the original wood grain beneath.
Weathering Techniques
Weathering can be mimicked through various methods. For example, using a mixture of vinegar and steel wool creates a natural stain that gives wood a grayish tone. Apply the mixture and let it sit for several minutes before wiping it off. This method is particularly effective for achieving an aged look.
Mixing Techniques
Combine multiple distressing techniques for a one-of-a-kind finish. For example, you might first sand the edges, then apply a blowtorch for texture, and finish with a wash of stain. This layered approach adds complexity to the piece and ensures no two projects are the same.
Always test your techniques on scrap wood before applying them to your main project to avoid unintended results.
Incorporating Texture and Detail
Adding texture can elevate your distressed wood projects. Consider using additional materials or techniques to enhance the overall design. Here are some ideas:
- Adding Nails or Screws: Incorporate decorative nails or screws to add interest. Rusty or aged hardware can emphasize the distressed look.
- Using Fabric or Textile: Attach fabric or other materials to the wood. This can create contrast and depth. For example, burlap or lace can be adhered to the surface for a unique touch.
- Creating Patterns: Use stencils to add patterns or designs. A simple floral or geometric pattern can enhance the piece without overwhelming the distressed look.
Consider the overall theme of your project when incorporating texture and detail. The aim is to complement the distressed look rather than overshadow it. Use materials that resonate with the aesthetic you want to achieve.
Preserving Your Distressed Wood
To ensure that your distressed wood pieces stand the test of time, proper preservation is key. Here are some best practices:
Regular Cleaning
Regularly dust and clean your wooden items to keep them looking fresh. Use a soft cloth and gentle cleaning solution to avoid damaging the finish. This will help maintain the beauty of the distressed look.
Protective Finish
As mentioned earlier, sealing your distressed wood is essential. A clear protective finish can guard against moisture, dirt, and scratches. Choose a finish that matches your desired sheen level, whether matte, semi-gloss, or glossy.
Avoiding Direct Sunlight
Keep your distressed wood out of direct sunlight whenever possible. UV rays can fade colors and damage finishes over time. If your piece is in a sunny spot, consider using curtains or blinds to shield it.
Next Steps for Better Your Distressing Journey
Distressing reclaimed wood is a fantastic way to create beautiful, one-of-a-kind pieces that add character to your home. With a variety of techniques available, you can experiment and find the perfect combination that suits your style. Whether you are a beginner or an experienced DIYer, the joy of transforming wood into stunning decor is unmatched. Remember to take your time, have fun, and let your creativity shine.
By mastering these easy techniques, you can create unique projects that showcase the beauty of reclaimed wood. From furniture to decorative accents, the possibilities are endless. So gather your materials, roll up your sleeves, and enjoy the process of making something truly special.