


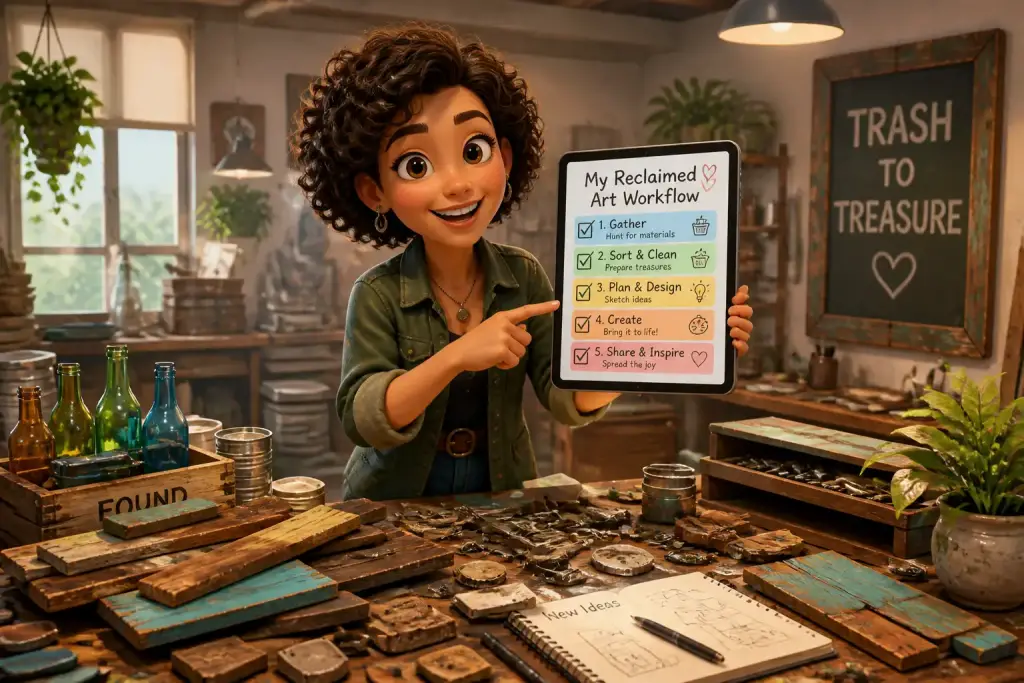
Creating a checklist for your reclaimed art workflow can significantly improve efficiency and creativity. When working with reclaimed materials, it’s essential to have a structured process. This ensures that every step is accounted for, leading to more successful and satisfying projects. A well-designed checklist helps you keep track of materials, tools, and techniques needed for your art pieces. From sourcing materials to final touches, this guide will walk you through creating a robust checklist that enhances your reclaimed art workflow.
- Create a detailed checklist to streamline your reclaimed art workflow.
- Include material selection and preparation stages for clarity.
- Regularly review and adjust your checklist based on project needs.
Table of Contents
Identifying Your Project Goals
Begin by defining the goals of your reclaimed art project. What do you want to achieve? Are you creating a specific piece for a gallery or a functional item for your home? Clear goals help shape your checklist. For instance, if your aim is to create a statement piece for a living room, your checklist will need to include aesthetic considerations alongside functional aspects.
Consider the audience for your art. Understanding who will view or use your artwork can guide your material choices. If you plan to sell your pieces, think about market trends and what sells well in your area. This insight can help you select materials that not only resonate with you but also appeal to potential buyers.
Another factor to consider is the size and scale of your project. Large installations might require more detailed planning compared to smaller pieces. This affects your checklist by determining the amount of materials you need, the tools required, and the workspace necessary to complete your project.
Gathering Materials and Tools
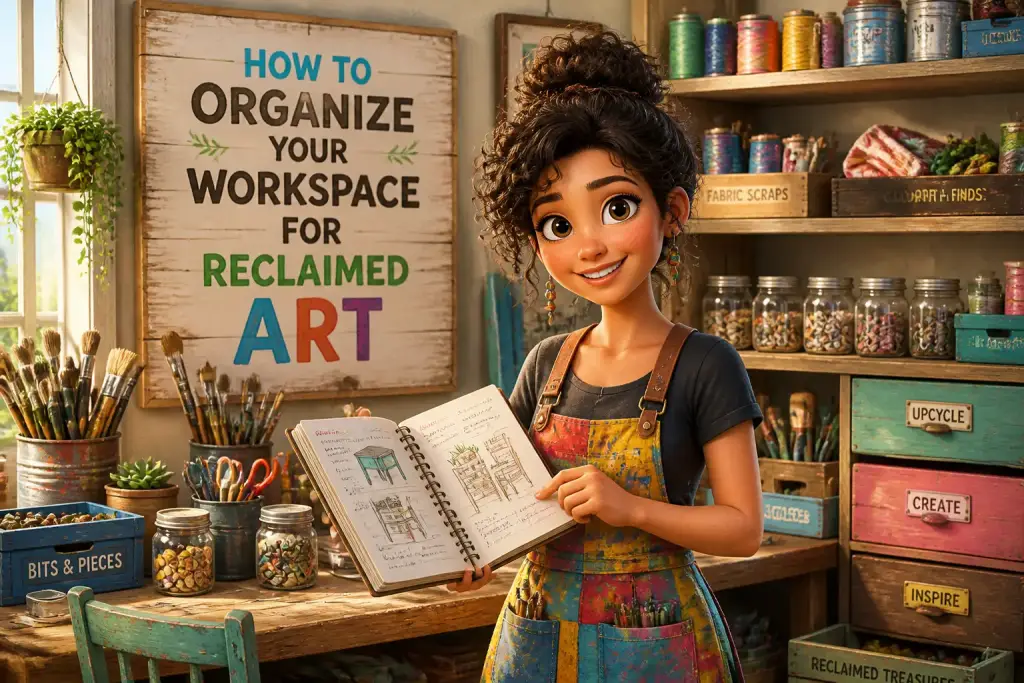
Once you have a clear understanding of your project goals, it is time to gather the necessary materials and tools. Start by making a comprehensive list of everything you need. This list should be divided into categories such as reclaimed materials, tools, and safety equipment.
Reclaimed Materials
- Wood: Look for pallets, old furniture, or discarded wooden items.
- Metal: Salvage pieces from old appliances or scrap yards.
- Glass: Use broken windows or glass bottles for unique designs.
For tools, think about what you will need to manipulate these materials. Common tools for reclaimed art projects include saws, drills, hammers, and paintbrushes. Don’t forget to include safety gear like gloves and goggles. A well-prepared workspace with all your materials and tools at hand allows for a smoother workflow.
Digital and Physical Tools
To physical tools, consider using digital tools to enhance your workflow. Software for design and project management can help you visualize your ideas and keep track of your progress. For example, consider using a digital checklist app to organize your tasks and materials. This not only helps you stay on track but also allows for easy adjustments as your project evolves.
Planning the Workflow Steps
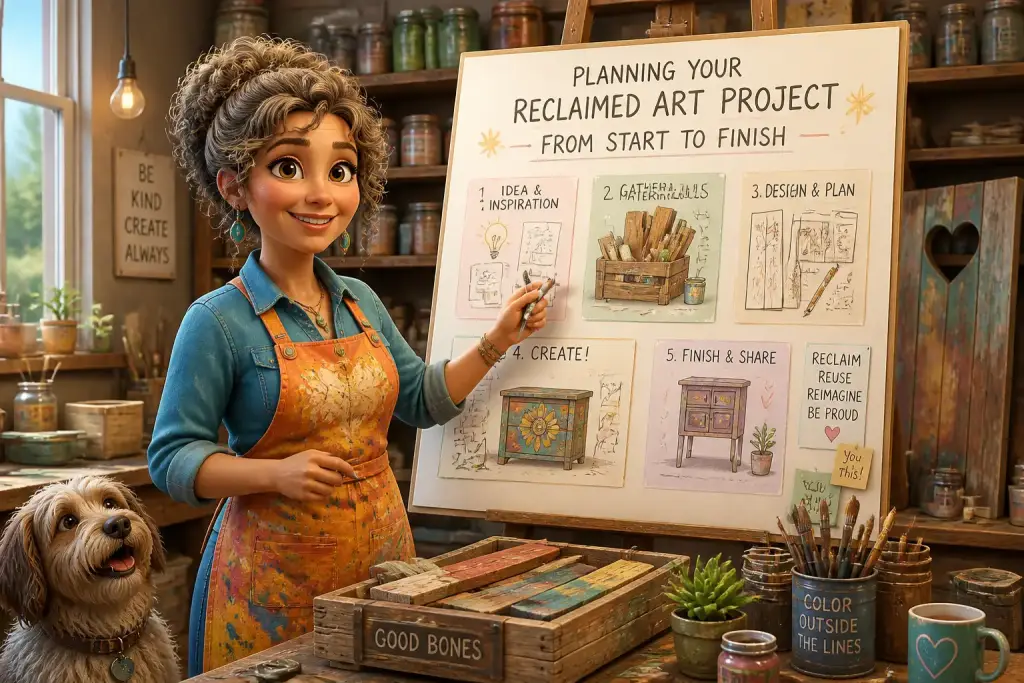
With your materials and tools ready, the next step is to plan your workflow. Outline each stage of your project from start to finish. This should include steps like gathering materials, creating sketches, constructing the piece, and finishing touches. Each step should be clear and detailed on your checklist.
For example, if you’re constructing a piece of furniture, your steps might look like this:
1. Measure and cut wood to size.
2. Assemble the pieces using screws or nails.
3. Sand the surfaces for a smooth finish.
4. Apply paint or stain.
5. Allow to dry completely before use.
Breaking down your project into smaller, manageable tasks helps prevent feeling overwhelmed. This also allows you to check off completed tasks, giving a sense of accomplishment as you progress.
Incorporating Techniques and Methods
Every artist has their preferred techniques when working with reclaimed materials. Identify which methods you plan to use in your checklist. Will you be using stencils for patterns? Or perhaps a specific joining technique for wooden pieces? Letting these techniques guide your project will ensure you stay true to your artistic vision.
Techniques to Consider
- Stenciling: Add unique designs using stencils. This can create eye-catching patterns on surfaces.
- Mixed Media: Combine different materials like wood and metal to enhance texture.
- Painting: Consider various paint techniques to finish your pieces beautifully.
As you outline these methods, ensure you include any special tools or materials needed for each technique. This preparation will make it easier to execute your ideas during the creative process.
Use digital tools to create and update your checklist for easy access and collaboration with team members.
Reviewing and Adjusting the Checklist
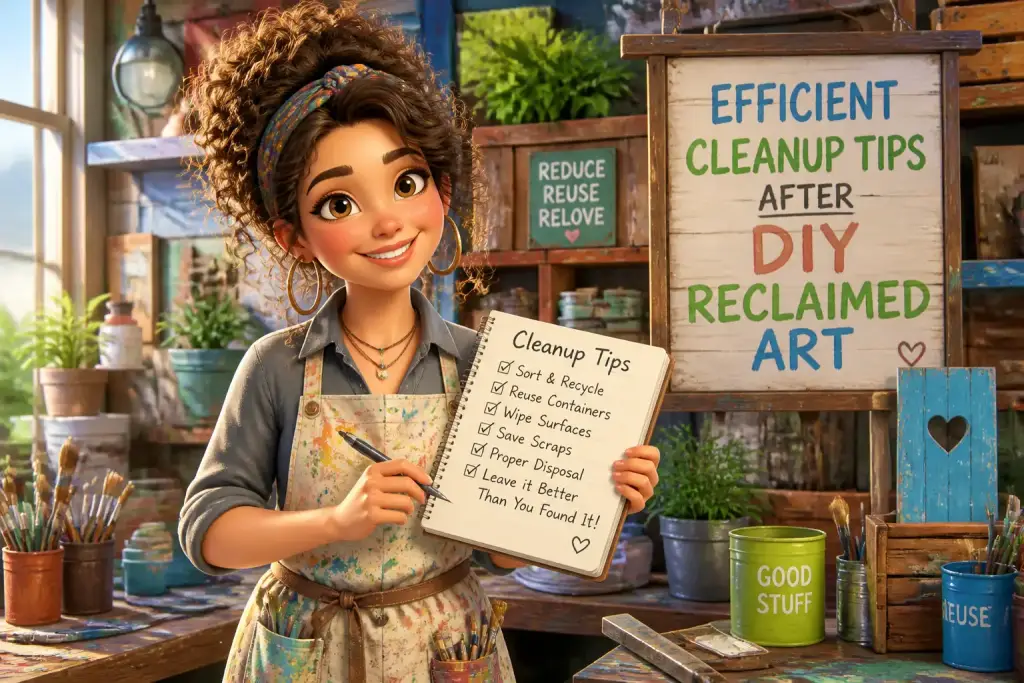
After drafting your checklist, take time to review it thoroughly. Look for any areas that may need adjustments. Perhaps you forgot to include a crucial tool or technique. Regularly updating your checklist based on your experiences will also enhance its effectiveness over time.
Feedback from others can also provide fresh insights. Share your checklist with fellow artists or friends who understand your vision. They might suggest additional steps or highlight potential oversights. Collaboration often leads to better ideas and improved outcomes.
As you complete projects, reflect on what worked well and what could be improved. This practice helps streamline future projects and refine your checklist further. Keeping a journal of your processes can be beneficial for this purpose.
Documenting Your Creative Process
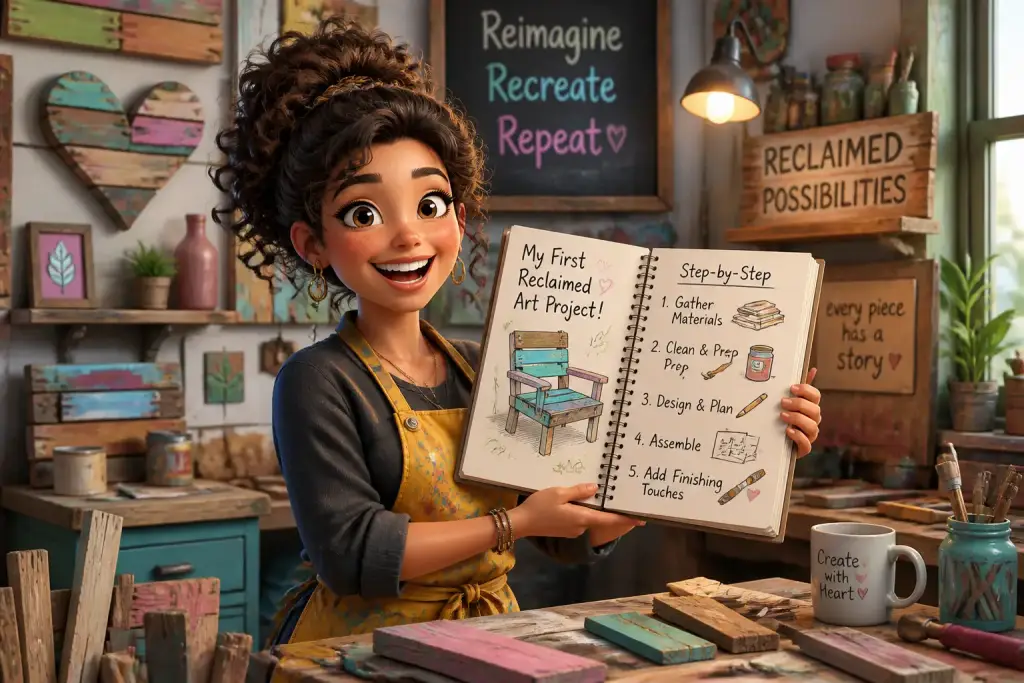
Finally, documenting your creative process can provide valuable insights for future projects. Take notes on what steps were effective, which materials worked best, and any challenges you faced. This information will inform your checklist for upcoming projects.
Consider taking photos at each stage of your process. Visual documentation not only serves as a record of your work but can also inspire new ideas for future projects. Sharing this documentation on social media or in a personal blog can connect you with a community of reclaimed art enthusiasts.
Developing a checklist for your reclaimed art workflow is more than just a task manager; it is a roadmap for your creativity. By systematically organizing your ideas and processes, you can enhance your artistry while also enjoying the journey. With each project, your checklist will evolve, reflecting your growth as an artist and your commitment to your craft.