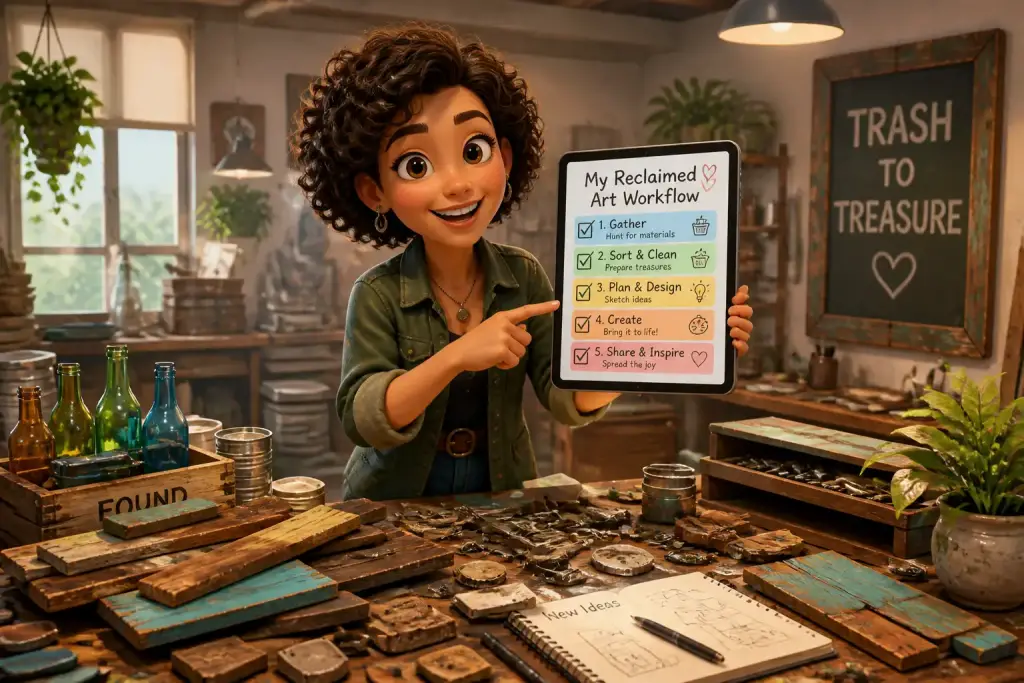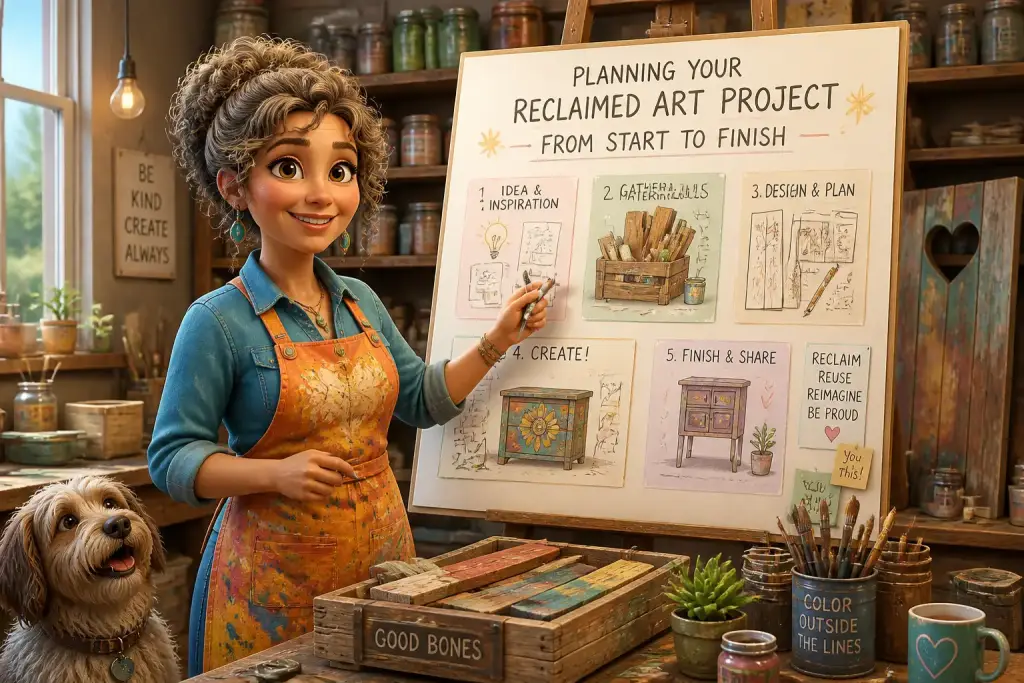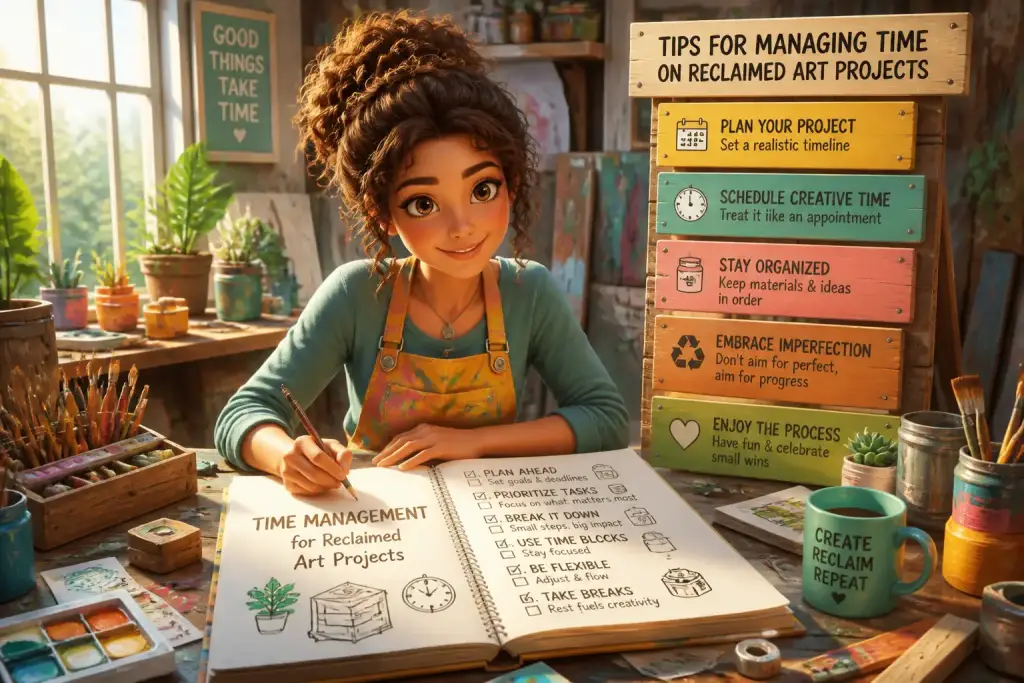









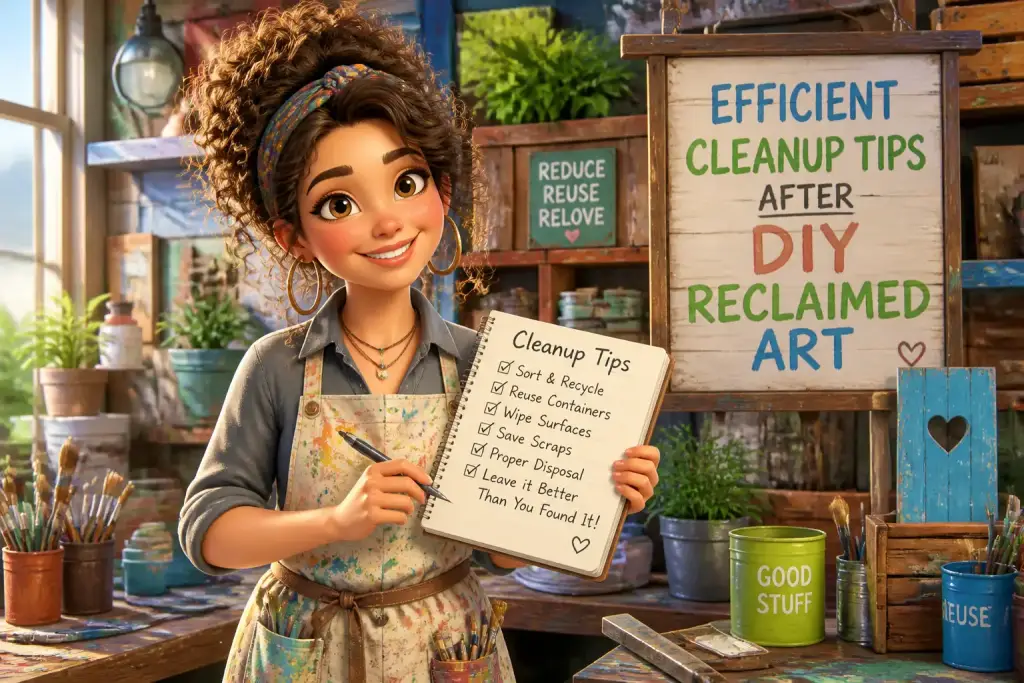
After completing a DIY reclaimed art project, the excitement of creativity can quickly turn into the daunting task of cleanup. Messes can accumulate, and the tools and materials can scatter across your workspace. Effective cleanup tips will help you manage this process, ensuring a tidy environment where your creativity can thrive in future projects. From organizing your materials to cleaning up safely and efficiently, each aspect plays a crucial role in maintaining a productive workspace.
- Organize your materials before starting to make cleanup easier.
- Use specific tools and products designed for craft messes.
- Create a cleaning schedule to maintain your workspace.
Table of Contents
Preparing for Cleanup: The Right Mindset
Before diving into the cleanup process, setting the right mindset is essential. Think of cleanup as part of your creative journey. Instead of viewing it as a chore, consider how a clean workspace can enhance your next project. A tidy space enables you to work better and reduces stress. Start by gathering your supplies and tools needed for cleaning.
Gathering necessary supplies can make your cleanup process smoother. You’ll need garbage bags, storage bins, cleaning cloths, and possibly some mild cleaning solutions. Having everything on hand means you won’t waste time searching for items during the cleanup. Create a checklist of what you will need to streamline the process. This preparation sets a positive tone for your cleanup session.
Creating a Cleanup Checklist
A cleanup checklist can help you stay organized and focused. Consider these essential steps:
- Clear the workspace of all large items.
- Sort materials into keep, donate, and discard piles.
- Wipe down surfaces to remove dust and residue.
- Store tools and supplies in designated places.
By following a checklist, you ensure that no step is missed. This method also keeps you motivated as you check off each task, leading to a sense of accomplishment.
Efficient Cleaning Techniques for Various Messes
Different types of materials create different messes. Knowing how to address each can save time and effort. For example, paint spills require different techniques compared to sawdust or glue. Let’s break down effective cleaning strategies for common messes encountered in reclaimed art projects.
Cleaning Up Paint and Adhesives
Paint and adhesives can be tricky to clean, especially if they dry on surfaces. Here are steps to handle these materials:
- Act quickly. The sooner you clean, the easier it will be.
- Use a damp cloth for water-based paint. For oil-based paint, mineral spirits can be helpful.
- For dried glue, try to peel it off gently with a plastic scraper.
- Always test cleaning solutions on a small area first to avoid damage.
These steps will help you keep your workspace looking new. A clean area allows for more creative freedom in future projects.
Dealing with Wood Shavings and Dust
Woodworking often results in shavings and dust that can clutter your workspace. Here’s how to tackle them:
- Use a vacuum with a brush attachment to remove dust from surfaces and corners.
- Collect wood shavings using a broom or a dustpan. If the mess is large, consider using a shop vacuum.
- Wipe down surfaces with a damp cloth to capture any remaining dust particles.
By handling wood dust and shavings effectively, you maintain a safe and healthy workspace. This habit can also prevent dust allergies and respiratory issues.
Storing Tools and Supplies for Easy Access
After cleaning, focus on organizing your tools and supplies. Proper storage solutions will enhance your efficiency for future projects. Consider investing in storage bins, shelves, or pegboards. Categorizing items will help you find what you need quickly.
Labeling your storage containers is another excellent practice. Clear labels make it easy to locate items. For example, separate bins for paints, brushes, and tools can prevent chaos. Additionally, using transparent bins lets you see the contents without opening each one. This simple step can save you time and frustration.
Examples of Effective Storage Solutions
Here are some practical storage ideas for your workspace:
- Use stackable bins to save space and keep materials organized.
- Install a pegboard for hanging tools, making them easily accessible.
- Utilize drawer organizers for small items like screws and nails.
Effective storage not only keeps your workspace tidy but also inspires creativity. A well-organized area encourages you to start new projects without the hassle of finding tools.
Establishing a Routine for Maintenance
Regular maintenance is key to preventing overwhelming messes after DIY projects. Establishing a cleaning routine can help you stay ahead of the mess. Schedule time for cleanup after each project or set aside time weekly to tidy your space. Making this a habit will reduce the amount of time needed for extensive cleanups in the future.
Consider implementing a few quick daily tasks to maintain order. These tasks might include putting away tools after use, wiping down surfaces, and checking your supplies regularly. Such small actions, when performed consistently, lead to a cleaner and more organized workspace.
Creating a Cleaning Schedule
To develop a cleaning schedule, follow these steps:
- Choose a specific day and time each week for cleaning.
- Set reminders on your phone or calendar.
- Include both quick daily habits and more in-depth weekly tasks.
- Adjust the schedule as needed to find what works best for you.
Having a structured cleaning schedule helps you stay accountable. Over time, this consistency will pay off, and your workspace will remain a welcoming environment for creativity.
Regularly sort and store materials after each project to prevent clutter from building up in your workspace.
Incorporating Sustainability in Cleanup
As you clean up after your DIY reclaimed art projects, consider incorporating sustainable practices into your routine. Reducing waste and using eco-friendly products benefits both your workspace and the environment. For instance, opt for natural cleaning solutions instead of harsh chemicals. Vinegar and baking soda can effectively clean many surfaces without harming the planet.
Think about recycling and reusing materials. Instead of throwing away scraps, consider how they can be repurposed in future projects. Keeping a designated bin for scrap materials encourages creativity and reduces waste.
Eco-Friendly Cleanup Practices
Here are some eco-friendly cleanup practices to consider:
- Use biodegradable trash bags for disposal.
- Keep a separate bin for recyclable materials.
- Choose non-toxic paints and adhesives to reduce environmental harm.
- Compost organic materials from reclaimed wood or other biodegradable items.
By incorporating these practices, you not only clean efficiently but also contribute positively to the environment. Sustainable cleanup methods reflect a commitment to both your craft and the planet.
Effective cleanup is essential after completing a DIY reclaimed art project. By preparing for cleanup, using efficient cleaning techniques, organizing your workspace, establishing maintenance routines, and embracing sustainability, you can create a welcoming environment for future creativity. These cleanup tips simplify the process and promote a tidy, organized space where inspiration can flourish.