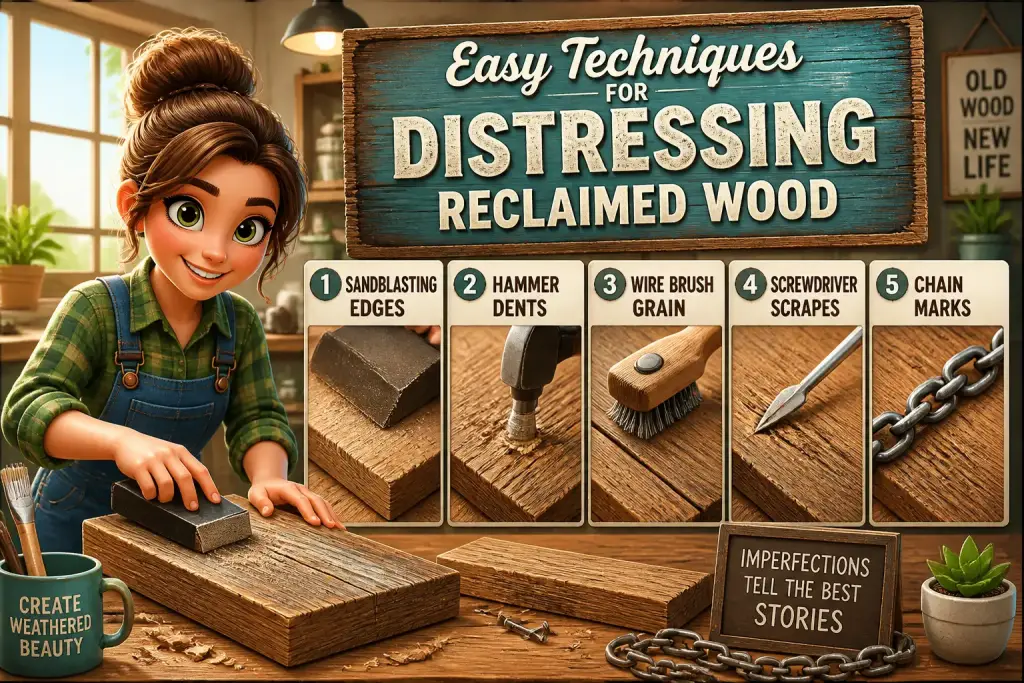









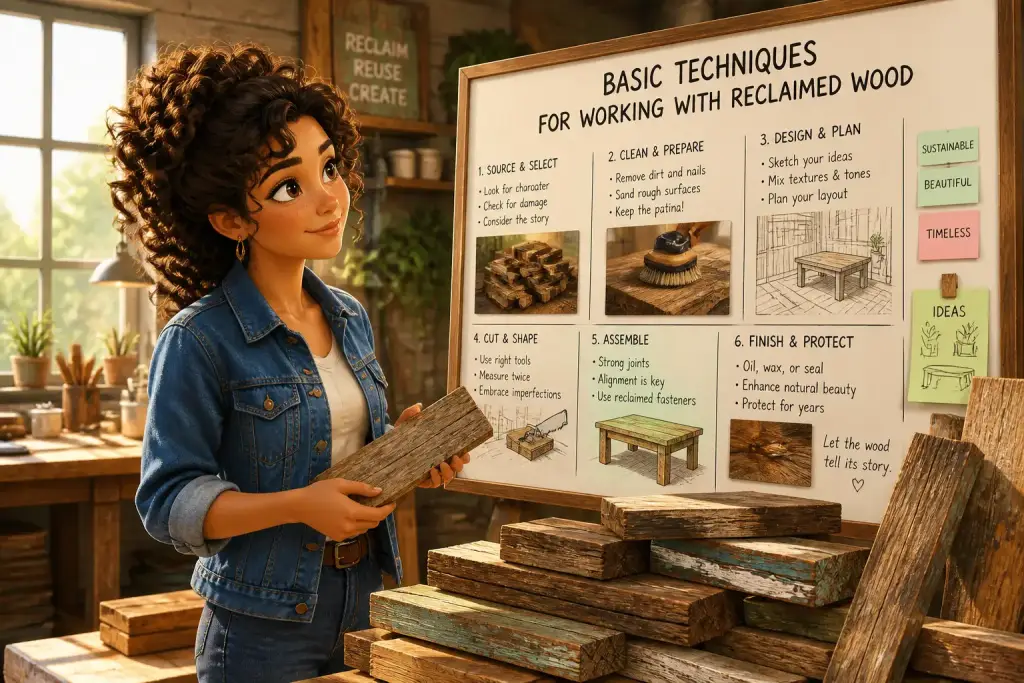
Working with reclaimed wood has become increasingly popular among DIY enthusiasts and professional woodworkers alike. The unique character and history of reclaimed wood not only add charm to projects but also promote sustainability in woodworking. However, transforming reclaimed wood into beautiful furniture or art requires specific techniques to ensure the best results. This article covers essential methods for working with reclaimed wood, from preparation and tools to finishing touches, providing you with the knowledge needed for successful projects.
- Reclaimed wood requires careful inspection to ensure quality and durability.
- Proper cleaning and preparation are essential for safe and effective use.
- Choosing the right tools can simplify the woodworking process significantly.
Table of Contents
Choosing the Right Reclaimed Wood
When starting a project, selecting the right reclaimed wood is vital. Different types of wood have unique characteristics that can impact your final product. Common sources of reclaimed wood include old barns, factories, and even shipping pallets. Each type carries its own story and aesthetic, so consider the following factors when choosing your wood:
- Wood Species: Hardwoods like oak and maple are durable and ideal for furniture, while softwoods such as pine are lighter and easier to work with.
- Condition: Inspect for signs of damage, such as cracks, rot, or insect infestations. Good quality wood will ensure a strong end product.
- Historical Value: Some woods may have more character due to their age and previous usage, adding to the project’s overall appeal.
Consider visiting local reclaimed wood suppliers or salvage yards to find a variety of options. These places often have knowledgeable staff who can help you select the best materials for your needs. Additionally, you can also look for online marketplaces specializing in reclaimed wood to expand your choices.
Preparation Techniques for Reclaimed Wood
Before you start working on your reclaimed wood project, proper preparation is essential. This process involves cleaning, sanding, and treating the wood to ensure it is safe and ready for use. Here are some key steps to follow:
Cleaning the Wood
Cleaning reclaimed wood is crucial as it may contain dirt, grime, or old finishes. Begin by using a stiff brush to remove surface debris. For stubborn stains or residues, a mixture of warm water and mild soap can be effective. Here’s a simple cleaning process:
- Remove any loose dirt and dust with a brush or vacuum.
- Wipe the wood down with a damp cloth to remove sticky residues.
- Allow the wood to dry completely before moving on to sanding.
This thorough cleaning will help you avoid issues during the finishing stage and ensure a smooth surface to work on. Depending on how dirty the wood is, you may need to repeat the cleaning process.
Sanding for Smoothness
Once the wood is clean and dry, sanding is the next step. Sanding helps remove any rough areas and prepares the surface for finishing. Use a belt sander for larger surfaces to save time, and finish with a hand sander for edges and corners. Make sure to use varying grits:
- Start with coarse grit (60-80) to remove rough spots.
- Move to medium grit (120-150) for smoothing.
- Finish with fine grit (220) to create a polished surface.
After sanding, wipe the dust off with a damp cloth to ensure a clean surface for any finishing products.
Essential Tools for Working with Reclaimed Wood
Using the right tools is vital for achieving quality results when working with reclaimed wood. Here’s a list of must-have tools for your woodworking projects:
Hand Tools
Hand tools are essential for detailed work and finishing touches. Some important hand tools include:
- Chisels: Great for cleaning up joints and making precise cuts.
- Saws: A good handsaw or jigsaw will help you make clean cuts in the wood.
- Clamps: These are crucial for holding pieces together while glue dries or during assembly.
Power Tools
Power tools can save time and effort. Consider investing in the following:
- Table Saw: Perfect for making straight cuts in larger pieces of wood.
- Drill: Use it for drilling holes and driving screws during assembly.
- Sander: An electric sander can speed up the sanding process significantly.
Having a well-equipped workspace will help you feel more confident and efficient in your projects. Proper tool maintenance, such as keeping blades sharp and cleaning tools after use, will prolong their life and ensure better performance.
Joining Techniques for Reclaimed Wood Projects
Joining pieces of reclaimed wood correctly is essential for the durability and aesthetics of your project. Different techniques can be applied based on the type of joint needed. Here are some common joining methods:
Butt Joints
A butt joint is the simplest way to join two pieces of wood. This method involves placing the ends of two boards together and securing them with screws or nails. Follow these steps to create a strong butt joint:
- Align the boards to ensure they meet evenly.
- Pre-drill holes to prevent splitting.
- Attach using screws, ensuring they are flush with the surface.
Butt joints are effective for many projects, but they may not provide the strongest connection, especially for heavy loads.
Mortise and Tenon Joints
For stronger connections, consider using mortise and tenon joints. This traditional method involves creating a hole (mortise) in one piece and a corresponding projection (tenon) on the other. Here’s how to create this joint:
- Mark the locations for the mortise on one board and the tenon on the other.
- Using a chisel, carve out the mortise, ensuring it is the correct size.
- Shape the tenon to fit snugly into the mortise.
This technique is ideal for furniture and other applications where strength is essential.
Always inspect reclaimed wood for signs of pests or rot before starting any project to ensure safety and longevity.
Finishing Techniques for Reclaimed Wood
Finishing reclaimed wood not only enhances its appearance but also protects it from wear and tear. Several options exist, depending on your desired look and the use of the item:
Staining and Sealing
Staining adds color and brings out the natural beauty of the wood. Before applying stain, ensure the wood is clean and sanded. Here’s a simple process:
- Choose a stain color that complements the wood.
- Apply with a brush or cloth, working in the direction of the grain.
- Allow it to dry completely before sealing.
After staining, applying a sealant will protect the wood from moisture and damage. Use a polyurethane or water-based sealant for optimal protection.
Natural Oils
Natural oils, such as linseed or tung oil, can also be used to finish reclaimed wood. These oils penetrate the wood and provide a warm, natural look. To apply, follow these steps:
- Pour a small amount of oil onto a clean cloth.
- Rub the oil into the wood in a circular motion.
- Wipe off any excess oil after 15-20 minutes.
This method enhances the wood’s grain and gives a soft sheen. Regular reapplication can help maintain the wood’s appearance over time.
Creative Projects with Reclaimed Wood
Reclaimed wood can be used in a variety of creative projects, from furniture to art. Here are some popular ideas:
Furniture Making
Creating custom furniture pieces is one of the most rewarding ways to use reclaimed wood. Consider making:
- Tables: Dining or coffee tables made from reclaimed wood can be both beautiful and functional.
- Shelves: Floating shelves or bookcases can add rustic charm to any room.
- Benches: Outdoor or indoor benches provide seating while showcasing the wood’s unique character.
Each piece tells a story, making your furniture unique and meaningful.
Artistic Creations
Reclaimed wood can also be transformed into stunning art pieces. Consider these creative projects:
- Wall Art: Create a collage of wood pieces arranged into shapes or patterns.
- Frames: Use reclaimed wood to create custom frames for photos or artwork.
- Signs: Craft personalized signs for homes or businesses using stencils and paint.
These projects allow for creativity and self-expression while promoting sustainability.
Maintaining Your Reclaimed Wood Projects
To ensure the longevity of your reclaimed wood creations, proper maintenance is essential. Here are some key tips:
Regular Cleaning
Keep your reclaimed wood clean by dusting regularly with a soft cloth. For deeper cleaning, use a damp cloth with mild soap. Avoid harsh chemicals that might damage the wood’s finish.
Conditioning
Using natural oils periodically can help maintain the wood’s luster. Depending on the usage, conditioning every few months can keep the wood looking fresh and vibrant.
Inspect for Damage
Regularly check for signs of wear or damage, such as scratches or loose joints. Addressing these issues promptly can prevent further damage and extend the life of your projects.
In summary, working with reclaimed wood involves thoughtful selection, preparation, and creativity. By mastering these techniques, you can create beautiful, lasting pieces that reflect both your style and commitment to sustainability. Enjoy the process and let your creativity shine as you work on your reclaimed wood projects.