





Creating a garden planter from reclaimed materials is both an eco-friendly and rewarding project. Not only does it contribute to a sustainable lifestyle, but it also adds character to your garden. Many enjoy the charm that unique, handcrafted planters bring to their outdoor spaces. This guide will walk you through the entire process, from sourcing materials to assembly, ensuring your planter stands out and thrives in your garden.
- Reclaimed materials can be found in everyday items like pallets, old furniture, and crates.
- Building your own planter saves money and allows for personalization to fit any garden style.
- Proper drainage and soil selection are essential for healthy plant growth in your garden planters.
Table of Contents
Choosing the Right Reclaimed Materials
Finding suitable reclaimed materials can be an exciting hunt. Many people overlook the potential of items that are discarded or unused. Old pallets, crates, window frames, and even furniture can be transformed into stunning garden planters. Local construction sites or warehouses often have pallets they are willing to give away or sell at a low price. Always ask before taking them. You can also check online marketplaces for furniture that can be repurposed.
When selecting materials, consider the durability and treatment of the wood. Untreated wood may not last long outdoors, especially when exposed to moisture. If you find untreated wood, you might want to treat it with a sealant to help it withstand the elements. Look for solid pieces that are not warped or rotten, as these will provide a sturdy base for your planter. Remember, the sturdier the material, the longer your planter will last.
Another great option is using metal containers. Old buckets, tins, or even bathtubs can make striking planters. Metal planters often have excellent drainage, which is crucial for plant health. If you choose to use metal, be cautious of rust. A coat of paint or sealant can help protect against corrosion. Accessories like wheels or handles can also be added to enhance functionality and mobility.
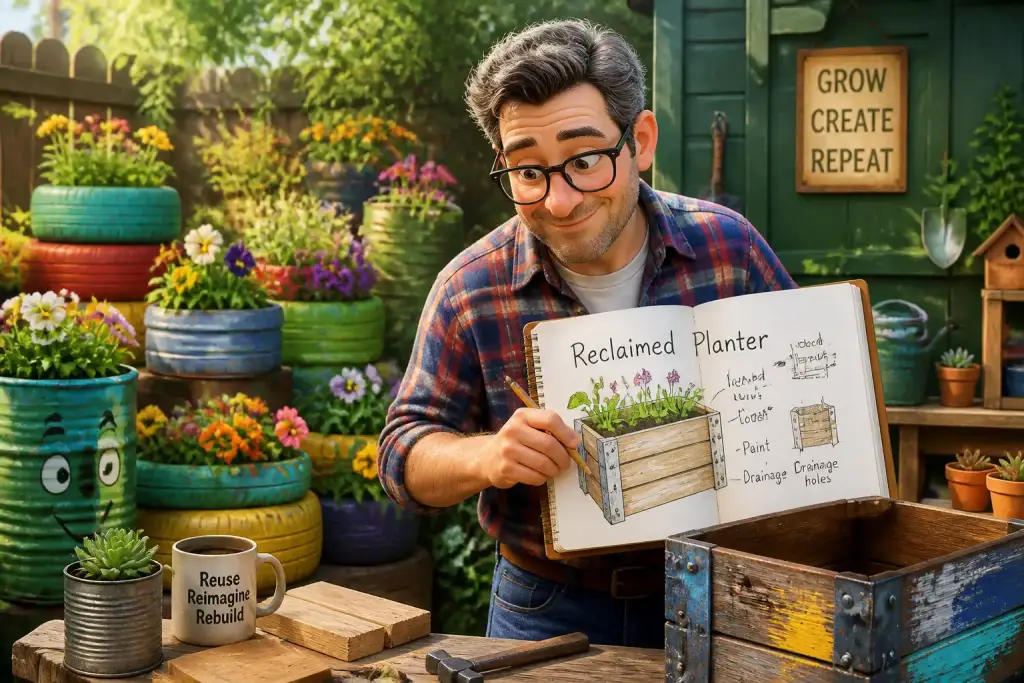
Once you have gathered your materials, it’s time to assess what you have. Think about the size and style of your garden. Are you looking for something rustic and charming or sleek and modern? The materials you choose will significantly influence the overall look of your planter. Consider sketching a few designs to visualize how different materials will work together.
Planning Your Garden Planter Design
Designing your garden planter is a creative process. Start by measuring the space where you plan to place your planter. This ensures it fits well within your garden and complements the surrounding environment. For small gardens or patios, vertical planters can save space while adding height and interest. Large planters can serve as focal points in a larger garden.
Consider the types of plants you want to grow. Some plants require deeper soil, while others can thrive in shallow containers. For example, root vegetables need more depth, while herbs can flourish in shallower boxes. When designing your planter, think about incorporating compartments or sections to accommodate different plant types. This not only adds visual interest but also allows for diverse plant growth.
Here are a few design ideas to inspire you:
- Tiered Planter: Stack multiple boxes on top of each other for a tiered effect. This is perfect for herbs and small flowers.
- Hanging Planter: Use reclaimed wood to create a hanging planter that can be attached to walls or fences, saving ground space.
- Box Planter: A classic square or rectangular box can hold a variety of plants. Customize the height for your convenience.
Sketch your design and note the dimensions. This will help you when it comes time to assemble your planter. Visualizing your finished product can also keep you motivated throughout the building process.
Tools and Supplies Needed
Gathering the right tools and supplies is essential for a successful project. Having everything ready before you start will streamline the building process. Here’s a list of tools you will likely need:
- Measuring Tape: To ensure accurate dimensions for your planter.
- Saw: A handsaw or power saw is essential for cutting your reclaimed materials to the desired sizes.
- Screwdriver: Useful for assembling your planter, especially if you are using screws for stability.
- Drill: A drill is necessary for making drainage holes and for assembly.
- Sandpaper: To smooth out rough edges and surfaces, making your planter safe and attractive.
To these tools, you will need various supplies such as screws or nails, wood glue, and a protective finish for the wood. It’s essential to have the right sealant to protect against moisture, especially if you are using untreated wood.
Before starting, make sure you have a clean and organized workspace. This will help you work efficiently and safely. If you are unsure about using certain tools, consider watching instructional videos or asking someone experienced for guidance.
Assembling Your Garden Planter
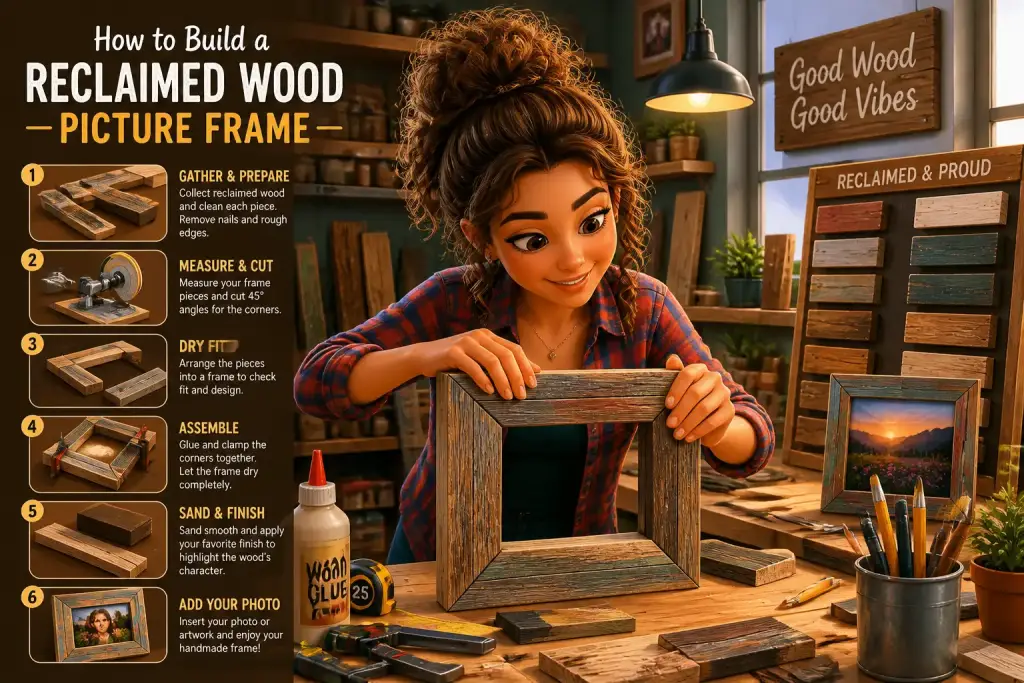
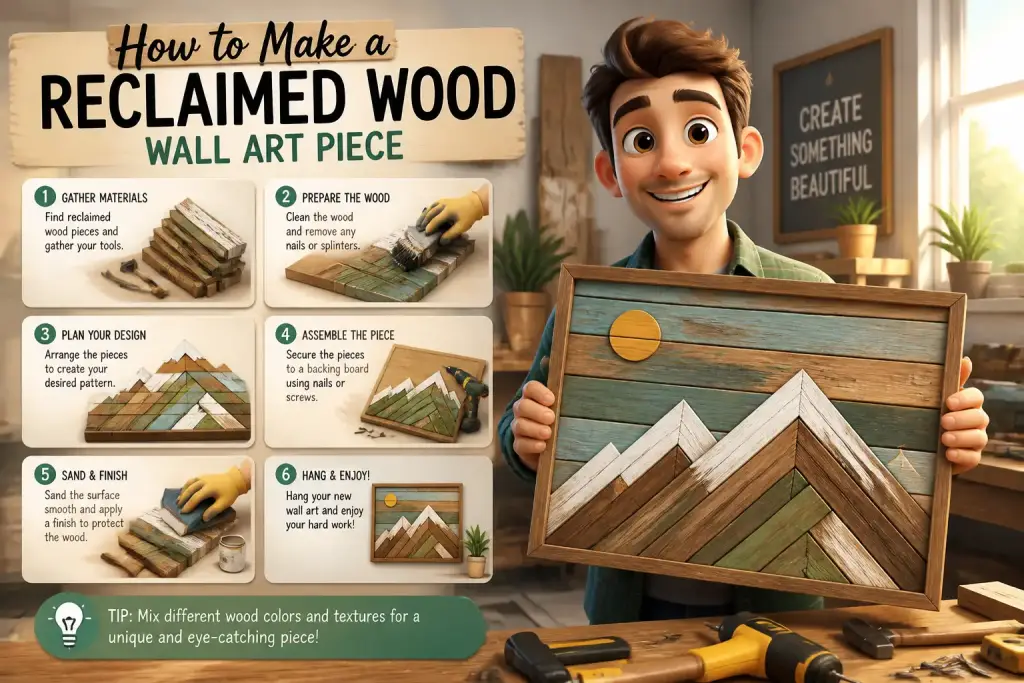
With your materials, design, and tools ready, you can begin assembling your garden planter. Start by cutting your reclaimed wood or metal to the necessary sizes based on your design. Always wear safety goggles and gloves when using power tools. Once your pieces are cut, lay them out according to your sketch.
Begin by constructing the base of your planter. If you are using wood, use screws for added strength. Make sure to pre-drill holes to prevent the wood from splitting. After the base is secure, add the sides. If your design includes compartments for different plants, ensure these are measured and cut correctly. This will help maintain the overall look and functionality of the planter.
Creating Drainage Holes
Drainage is vital for plant health. Without proper drainage, water can accumulate, leading to root rot. Use a drill to create holes in the bottom of your planter. Space them evenly to allow for effective water runoff. If you are using a container like a bathtub or bucket, drill holes in the bottom or sides as needed. Consider adding a layer of gravel or small stones at the bottom to aid in drainage.
After assembling the planter and ensuring it is stable, sand down any rough edges to prevent injury and improve aesthetics. Apply a protective finish to the wood to prolong its life. This is a crucial step, especially for outdoor planters, as it helps resist moisture and weather damage.
Always treat reclaimed wood with a protective finish to prolong its life and prevent rot in outdoor conditions.
Planting and Maintaining Your Planter
Now that your garden planter is ready, it’s time to fill it with soil and plants. Choose high-quality potting soil that provides good drainage and nutrients. Fill your planter, leaving enough space for your plants to grow. Be sure to consider the specific needs of the plants you choose. Some may prefer more sun, while others thrive in partial shade.
When planting, arrange the plants according to their height and spread. Taller plants should go in the back or center, while shorter ones should be placed toward the front or edges. This arrangement not only looks good but also ensures that all plants receive adequate sunlight. Water your new plants well after planting and regularly check for their specific watering needs.
Regular Maintenance Tips
Maintaining your garden planter is crucial for healthy plants. Here are some tips to keep in mind:
- Watering: Check the soil moisture regularly. Water when the top inch feels dry. Be careful not to overwater.
- Fertilizing: Use a balanced fertilizer during the growing season to provide essential nutrients.
- Pruning: Trim dead or yellowing leaves to encourage new growth and prevent disease.
Monitor your plants for pests or diseases. Early detection can save your garden from serious damage. If you notice problems, research natural remedies or consult local gardening resources. Healthy plants will not only beautify your space but also provide a sense of accomplishment.
Inspiration for Future Projects
Once you complete your garden planter, you might find yourself inspired to take on more projects with reclaimed materials. Consider making other items such as garden benches, trellises, or even birdhouses. Each new project can enhance your outdoor space even more.
Think about how you can incorporate different styles and materials. Mixing wood with metal can create a unique aesthetic. Or, try painting or staining your reclaimed materials for a fresh look. The possibilities are endless when it comes to creating with reclaimed items.
Sharing your creations can also inspire others. Post pictures of your garden planters on social media, or join local gardening groups to share ideas and tips. You may even find friends willing to collaborate on future projects. Engaging with a community can provide support and motivation as you explore your creativity.
Finally, remember to enjoy the fruits of your labor. Spending time in your garden can be rewarding and relaxing. Watch your plants grow, and appreciate the beauty of your reclaimed garden planters. Embrace the journey of creating, and let your imagination guide you toward even more innovative projects.