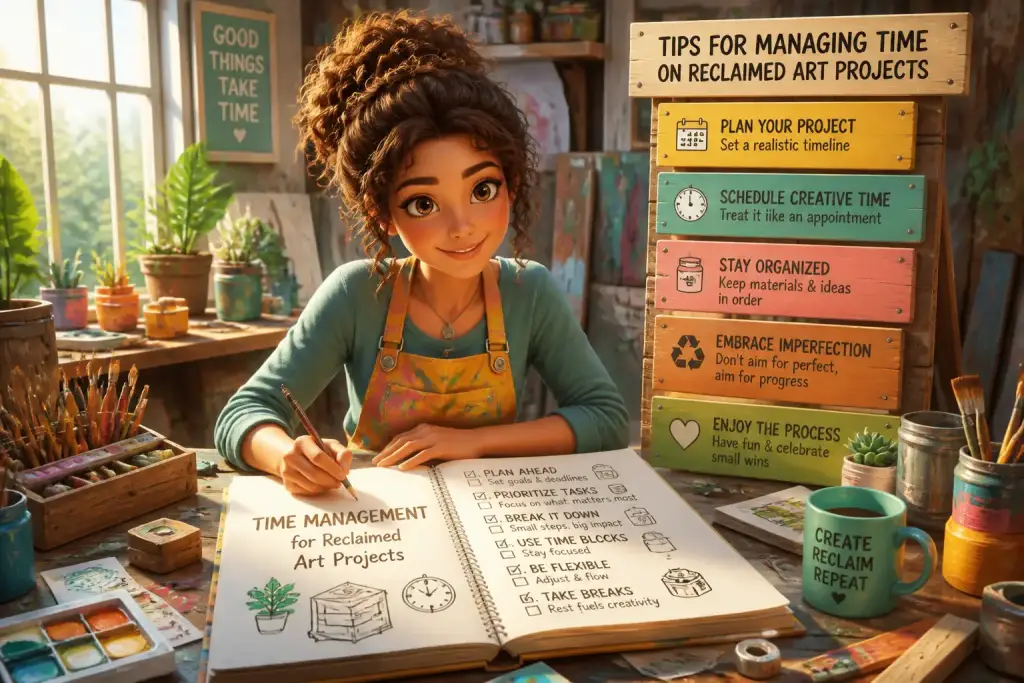










Creating art from reclaimed materials is a rewarding and sustainable practice. However, the process can quickly become overwhelming without proper workspace organization. An organized workspace not only boosts creativity but also enhances efficiency. By following some practical strategies, anyone can transform their art area into a functional and inspiring environment that fosters creativity. This guide will explore how to effectively organize your workspace for reclaimed art, ensuring that you have everything you need at your fingertips.
- Designate zones for different activities like cutting, painting, and assembly.
- Use vertical storage solutions to maximize your workspace.
- Regularly declutter to keep your creative area inspiring.
Table of Contents
Identifying Your Workspace Needs
Before diving into organizing, it is essential to assess your specific needs. Everyone’s art style and process are different, so understanding what tools and materials you frequently use is crucial. Start by evaluating what types of reclaimed art you create. Are you focused on woodwork, mixed media, or painting? Each discipline requires different tools and materials. For example, if woodworking is your passion, you will need more space for large materials and tools like saws and drills. On the other hand, mixed media artists might need plenty of small containers for various supplies.
Make a list of all the tools, materials, and supplies necessary for your projects. This list should include everything from paint and brushes to reclaimed wood and metal scraps. Once you have compiled your list, categorize these items into groups based on their functions. For instance, you can have categories for cutting tools, painting supplies, and assembly materials. This initial assessment will guide you in creating a workspace that meets your unique artistic needs.
Creating a Functional Layout
After identifying your needs, it is time to design a functional workspace layout. Start by considering the flow of your artistic process. You want to set up your space in a way that allows you to move smoothly from one stage of your project to another. For example, position your cutting area near your assembly zone, so you can easily transport materials without unnecessary back and forth.
- Place larger items like tables or workbenches in central locations to serve as hubs for your projects.
- Keep your tools within arm’s reach to minimize interruptions when working on projects.
- Utilize wall space by hanging tools or shelving for quick access to frequently used supplies.
Implementing Effective Storage Solutions
Storage is a critical aspect of organizing any workspace, especially for reclaimed art projects, where materials can quickly pile up. It is important to have efficient storage solutions that not only keep your supplies organized but also make them easy to access. Consider various storage options that suit your space and artistic needs. For larger items, open shelving can be a great option, allowing you to see everything at a glance.
Use clear bins or containers for smaller items such as screws, nails, and brushes. Label these containers clearly to find what you need quickly. Additionally, vertical storage solutions can maximize your workspace. Wall-mounted pegboards, for example, can keep tools visible and ready for use, while freeing up valuable surface space.
Creating Zones for Different Activities
Organizing your workspace into different zones can enhance your efficiency and creativity. By designating specific areas for particular tasks, you can maintain focus and avoid clutter. A cutting zone should be equipped with all necessary cutting tools and materials, while a painting zone should have paints, brushes, and surfaces ready for your artwork. Assembly zones are perfect for putting together your final pieces.
- Cutting Zone: Include saws, cutting mats, and safety gear.
- Painting Zone: Equip this area with various colors, brushes, and palettes.
- Assembly Zone: Have glue, nails, and other fastening tools readily available.
Maximizing Natural Light and Ergonomics
A well-lit workspace is essential for any artist. Natural light can enhance your creativity and improve your mood while you work. Position your workspace near windows to take advantage of sunlight. If natural light is limited, consider investing in daylight-simulating bulbs that can mimic the effects of sunlight. Good lighting not only helps you see your materials better but also reduces eye strain during long hours of work.
Ergonomics is another vital aspect of workspace organization. Ensure that your work surfaces are at comfortable heights to prevent strain on your back and wrists. If you are standing for long periods while working, consider using anti-fatigue mats to provide added comfort. When sitting, invest in a supportive chair that promotes good posture. These adjustments will help you stay focused and engaged in your creative process.
Consider using clear bins for materials so you can easily see your supplies and access them without digging through clutter.
Regular Maintenance and Decluttering
Maintaining an organized workspace requires regular attention. Schedule weekly or monthly times to declutter and tidy your area. During this time, evaluate what materials you have not used in a while. If there are items you no longer need, consider donating or recycling them. This practice not only keeps your workspace neat but also encourages you to use the materials you have on hand.
Establishing a routine can significantly reduce the buildup of clutter. After completing a project, take a few minutes to put everything back in its designated place. This small practice can save you time and frustration in the future. Additionally, it can keep your creative space feeling fresh and inviting, allowing you to focus on your art rather than your surroundings.
Creating a Cleaning Checklist
To streamline your maintenance routine, create a cleaning checklist to follow during your decluttering sessions. This list can include tasks like wiping down surfaces, organizing supplies, and checking inventory levels of materials. A simple checklist can help you stay organized and ensure that nothing is overlooked. Here are some points to consider:
- Dust and wipe all surfaces to maintain a clean work environment.
- Check for expired or unusable materials and dispose of them properly.
- Organize tools and supplies back into their designated zones.
Incorporating Inspiration and Personal Touches
Finally, make your workspace a reflection of your artistic style. Adding personal touches can inspire creativity and make your environment feel more inviting. Consider displaying completed projects or inspirational artwork on your walls. This not only beautifies your space but also serves as motivation when you are in need of inspiration.
Incorporating plants into your workspace can also enhance creativity and improve air quality. Choose low-maintenance plants that thrive indoors, such as succulents or pothos. These living elements can provide a calming atmosphere while working on your reclaimed art projects.
Creating a Vision Board
A vision board is a fantastic way to incorporate inspiration into your workspace. Gather images, quotes, and materials that resonate with your artistic vision. Pin them to a corkboard or create a digital version that you can refer to regularly. This visual reminder can help you stay focused on your goals and spark new ideas for future projects.
By organizing your workspace for reclaimed art, you set the stage for creativity to flourish. A well-planned area allows you to focus on your artistic endeavors without the distractions of clutter. Embrace these strategies to create a space where inspiration flows, and ideas come to life.
For more tips on tools and techniques related to your projects, check out our Beginner’s Guide to Power Tools for Reclaimed Art and learn how to make the most of your reclaimed materials.
In summary, organizing your workspace is an ongoing process that involves understanding your needs, creating a functional layout, implementing effective storage, and regularly maintaining your space. By following these steps, you can create an inspiring environment that supports your reclaimed art journey.