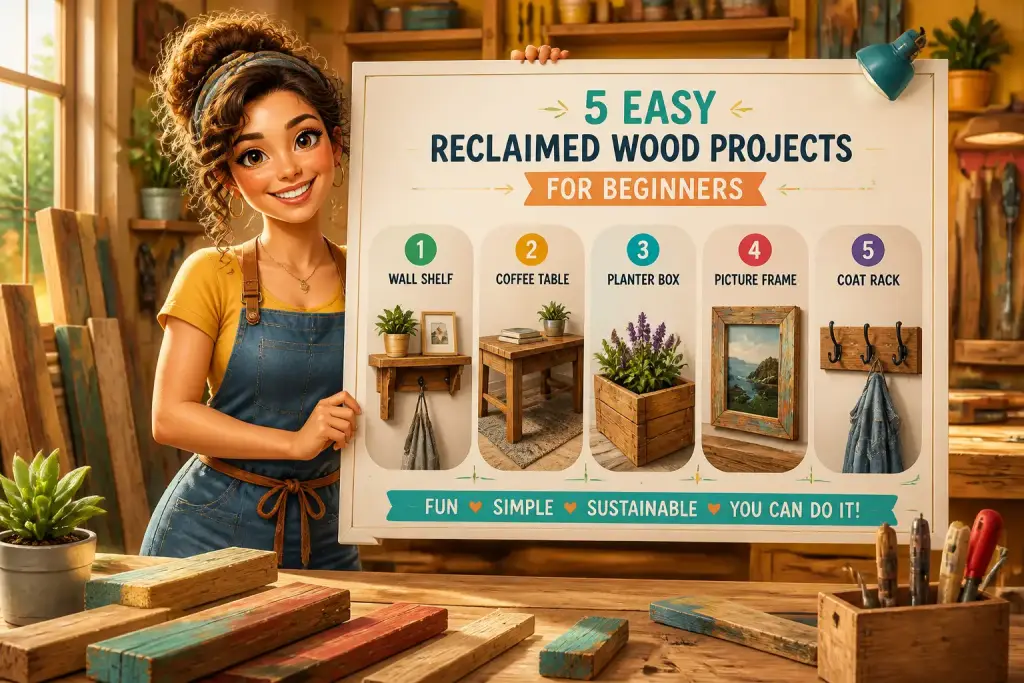








Creating art from reclaimed wood not only helps the environment but also adds a personal touch to your living space. Each piece tells a story, reflecting the beauty of reused materials. This guide will take you through the entire process of making a reclaimed wood wall art piece. From choosing materials to finishing touches, you will learn everything you need to know to create a stunning focal point in your home.
- Gather reclaimed wood from various sources for unique textures.
- Prepare your workspace to ensure safety and efficiency while crafting.
- Finish your art piece with suitable sealants for durability and aesthetics.
Table of Contents
Choosing the Right Reclaimed Wood
Selecting the proper wood is the first step in crafting a unique wall art piece. Reclaimed wood can come from various sources, such as old furniture, pallets, or even barn wood. Each type of wood brings its own character and charm. For instance, barn wood often has a rustic quality, while pallet wood can provide a more uniform look with its straight lines.
Consider the following options when gathering your materials:
- Pallets: These are often available for free from grocery stores or warehouses. Look for pallets that are in good condition, free of chemicals.
- Old Furniture: Pieces like tables or cabinets can be disassembled and repurposed into art. This method allows you to choose specific wood types and finishes.
- Salvaged Barn Wood: This wood is rich in history and character, often featuring beautiful weathered textures.
- Scrap Wood: Any leftover wood from previous projects can be perfect for smaller art pieces or accents.
When selecting wood, consider the colors and textures that appeal to you. Mixing different types can create a dynamic and visually interesting piece. Once you have gathered your wood, it is essential to clean and prepare it before starting your project.
Preparing Your Workspace
A well-organized workspace is vital for any DIY project. Before diving into creating your wall art, take the time to set up a safe and efficient area to work. Begin by clearing a large table or workbench where you can lay out your materials. Make sure you have good lighting to see details clearly. Having adequate ventilation is crucial, especially if using adhesives or finishes.
Gather all necessary tools and materials. Some essential items include:
- Saw: A circular saw or hand saw will help you cut wood to the desired size.
- Drill: A power drill is useful for making holes in the wood for screws or hanging hardware.
- Sander: Sanding your wood pieces smoothens any rough edges and prepares the surface for painting or staining.
- Safety Gear: Always wear goggles and a dust mask when cutting or sanding wood to protect your eyes and lungs.
Once your workspace is prepared and tools are gathered, you can begin designing your wall art. Taking the time to set up properly will make the crafting process much smoother.
Designing Your Art Piece
Creating a design is an exciting part of the process. Consider what type of wall art you want to create. It could be a geometric pattern, a nature scene, or even an abstract design. Sketching your ideas on paper helps visualize the final product. This step allows you to experiment with shapes, colors, and arrangements before committing to the wood.
Here are some popular design ideas to inspire you:
- Geometric Patterns: Use various shapes like triangles or rectangles to create a modern look.
- Nature Scenes: Create silhouettes of trees, mountains, or animals for a rustic feel.
- Inspirational Quotes: Incorporate text into your design to express a personal message.
- Mixed Media: Combine wood with other materials like metal or fabric for added texture.
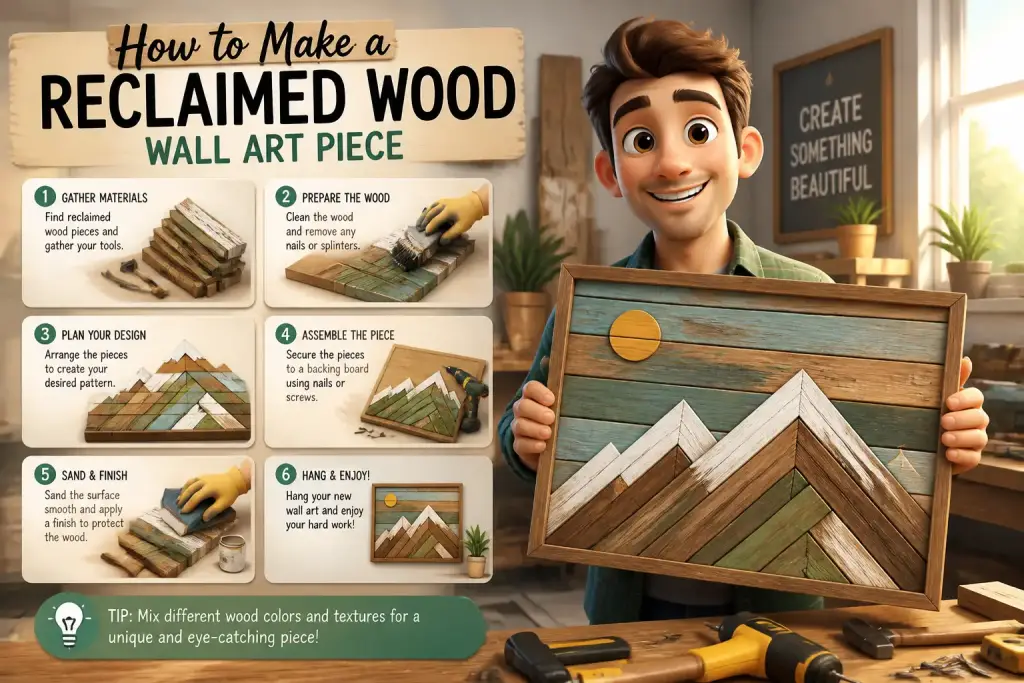
After deciding on a design, lay out the wood pieces on your work surface to see how they fit together. This step allows you to adjust placements or colors before attaching them permanently. Taking the time to plan thoroughly will pay off in the final product.
Cutting and Assembling the Wood
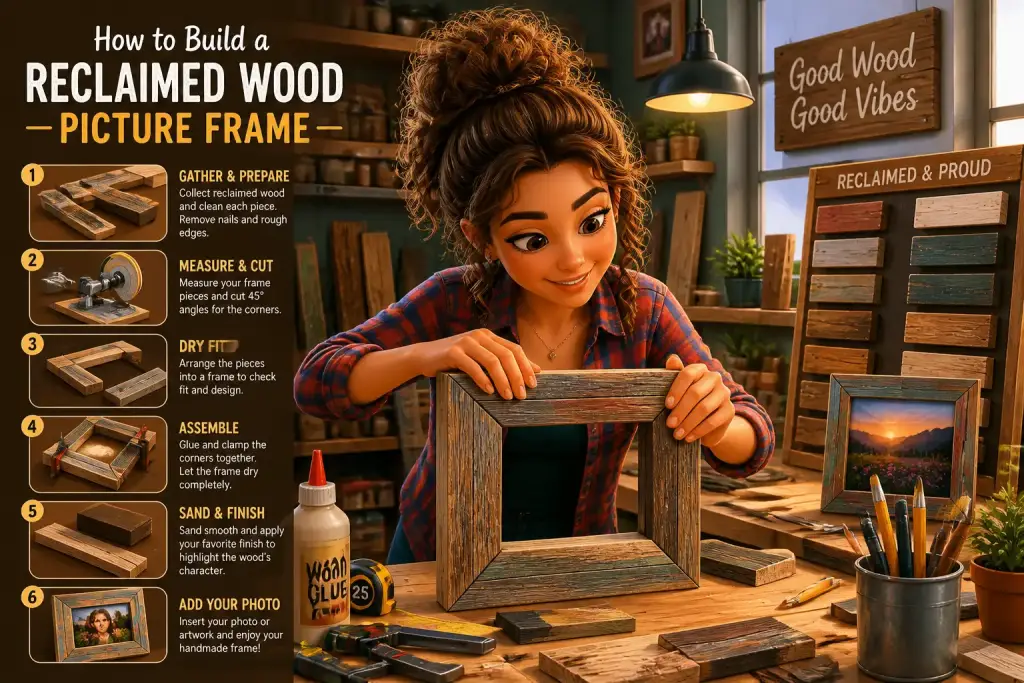
Once you have your design finalized, it’s time to cut the wood pieces to size. Use a saw to cut the wood according to your plans. Take your time with this step to ensure clean cuts. If you are new to using power tools, refer to a beginner’s guide to power tools to understand the basics of safe operation.
After cutting, the next step is to sand the edges of each piece. This process removes any splinters and creates a smooth surface. Sanding can be done by hand or with an electric sander, depending on the size and number of pieces. Start with a coarse grit sandpaper and finish with a finer grit for a polished look.
Assemble your pieces according to your design. Use wood glue, screws, or nails to attach each piece. Make sure all parts are secured and aligned properly. You can also add a backing board if you want additional support for larger pieces. This backing can be made from plywood or another sturdy material.
Finishing Touches and Mounting
Finishing your reclaimed wood wall art is where you can truly make it your own. Consider whether you want to paint, stain, or leave the wood natural. Each option offers a different appearance. For a rustic look, many choose to leave the wood untreated, allowing its natural beauty to shine through.
If you opt for paint or stain, apply it evenly across the surface. Use a brush or cloth to ensure full coverage. After applying the finish, allow it to dry completely before handling the piece. Depending on the finish you choose, additional coats may be necessary for the desired effect.
Once the finishing touches are complete, it’s time to mount your art on the wall. Decide where you want to hang your piece and ensure it is at eye level for the best viewing experience. Use appropriate hanging hardware based on the weight of the art. Heavy pieces may require wall anchors, while lighter pieces can often use simple picture hooks.
Always wear safety gear such as goggles and masks to protect yourself from dust and debris while working with wood.
Showcasing Your Creation
Your reclaimed wood wall art is now complete and ready to be displayed. Find the perfect spot in your home where it can be appreciated. Consider adding complementary decor around the piece to enhance its visual impact. For example, placing plants or additional artwork nearby can create a cohesive look.
Sharing your creation can also be rewarding. Consider posting photos on social media or inviting friends over to showcase your hard work. Making art from reclaimed wood not only beautifies your space but also encourages others to appreciate the beauty of sustainable materials.
In summary, creating a reclaimed wood wall art piece is a fulfilling project that combines creativity and sustainability. By following these steps, you can make a unique piece that enhances your home. For further insights on planning your reclaimed art project, check out our planning guide to make your journey even smoother.